Whimsical Bags – Designing and Prototyping a Belt Pouch
2025/03/31
Introduction
Hey everyone! As always, it’s been a while. If you’re new here, hi! This is my first post on this site, and will hopefully be followed by more posts about various things on a regular basis. If you’re coming from my old blog, welcome back! I transitioned and made a new website. I am now a woman (sort of). My old site is still up as an archive, but everything I do will be on here now. Make sure to follow my RSS feed!
This post, like some of my previous ones, documents a school project which I put particular effort and passion into. Unlike the others, however, it includes plans for the actual thing, and you’re free to make it yourself if you’re interested!
Design Brief
If you’re like me and wear femme clothing and/or like to collect trinkets, you’ll have run into the problem of, shit, where do I put my stuff? Most skirts and dresses don’t have pockets, and most pants and slacks either have fake or shallow pockets. Some people get around this using a handbag or purse, but that’s often really inconvenient. Modification is also hard, because even if you have the skill and time to sew yourself good pockets, it’s just... so much work.
Fanny packs, from a utilitarian standpoint, solve all these problems, but they also tend to look ugly. I mean, you’re expecting me to slap a parachute-buckled hunk of black nylon weave on this nice frilly white dress?
It’s not perfect, but with this in mind, I came up with a solution: a canvas belt pouch in a format both stylish and whimsical. A giant fucking isopod! Hell yeah!!
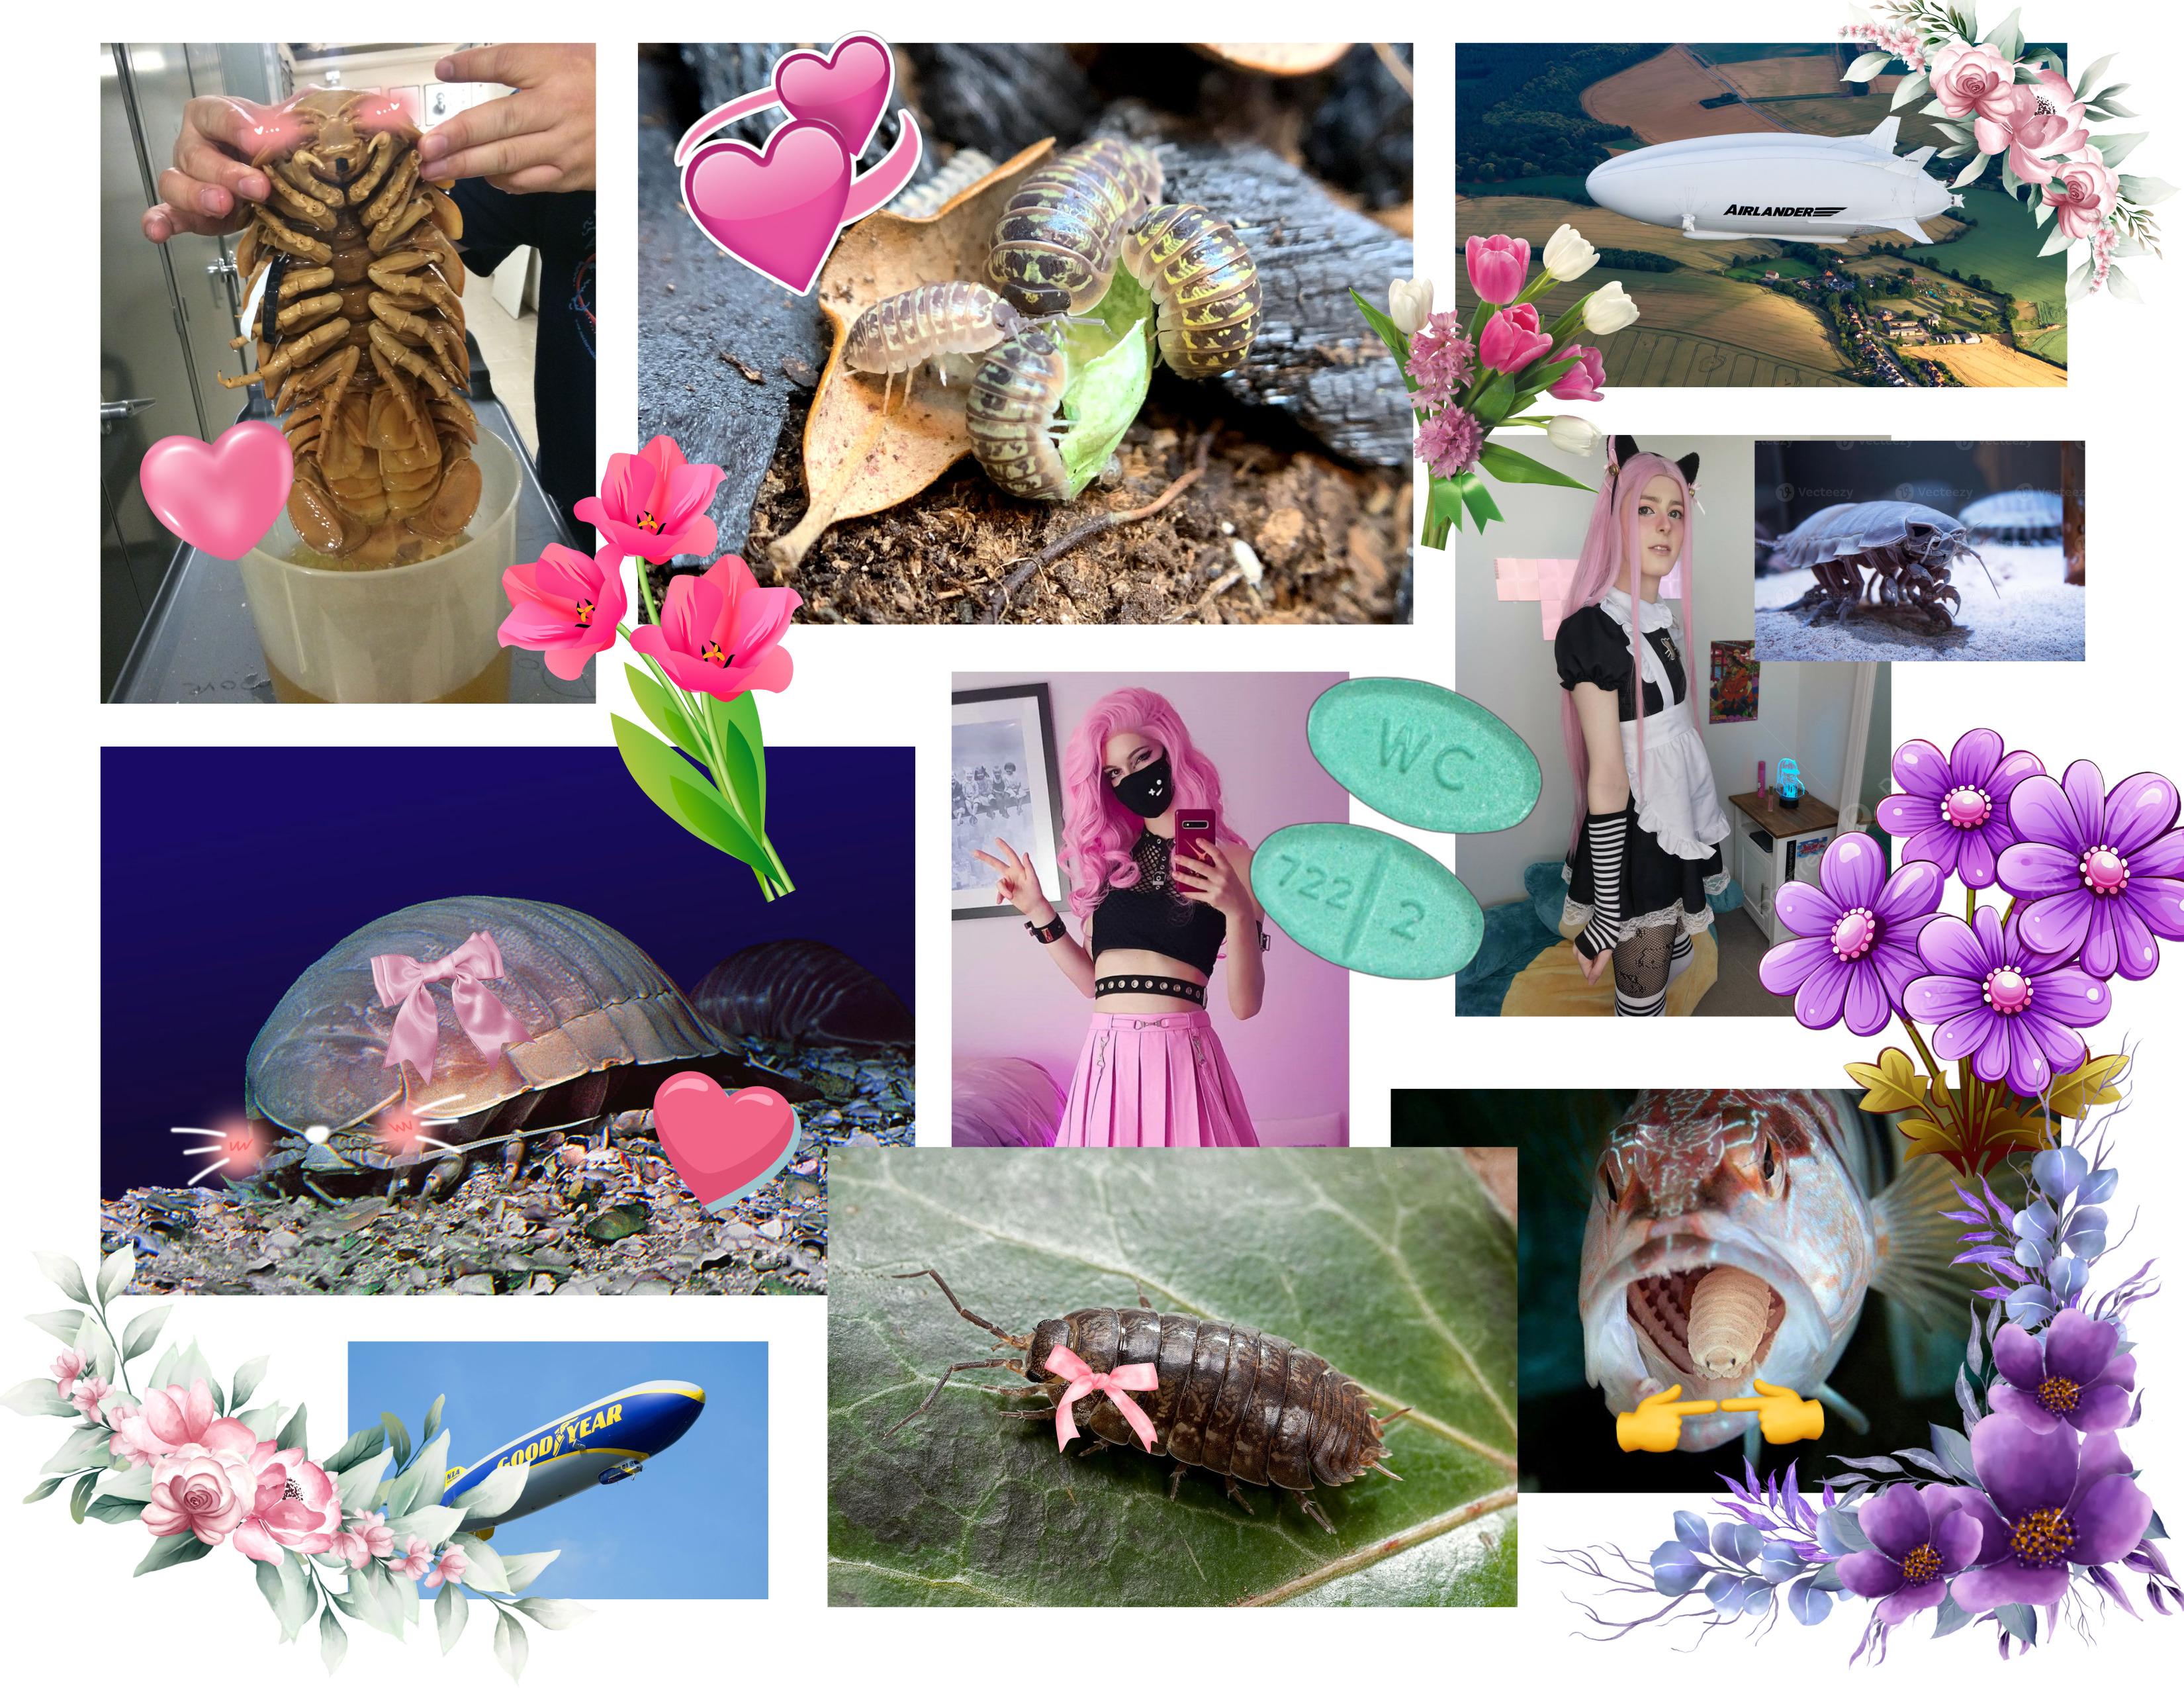
Initial moodboard. And by mood I mean manic episode.
The Plan
Unfortunately, we ball.
I began with a series of concept sketches, which were unfortunately all stolen before I could document them. Sorry. Lots of grabby raccoon hands around campus.
Once I had settled on a design I liked, I got to work making a laser cut file. The criteria behind this project was to create templates and jigs to help replicate a prototype/model five times, so I decided to laser cut wood pieces to trace fabric pieces with.
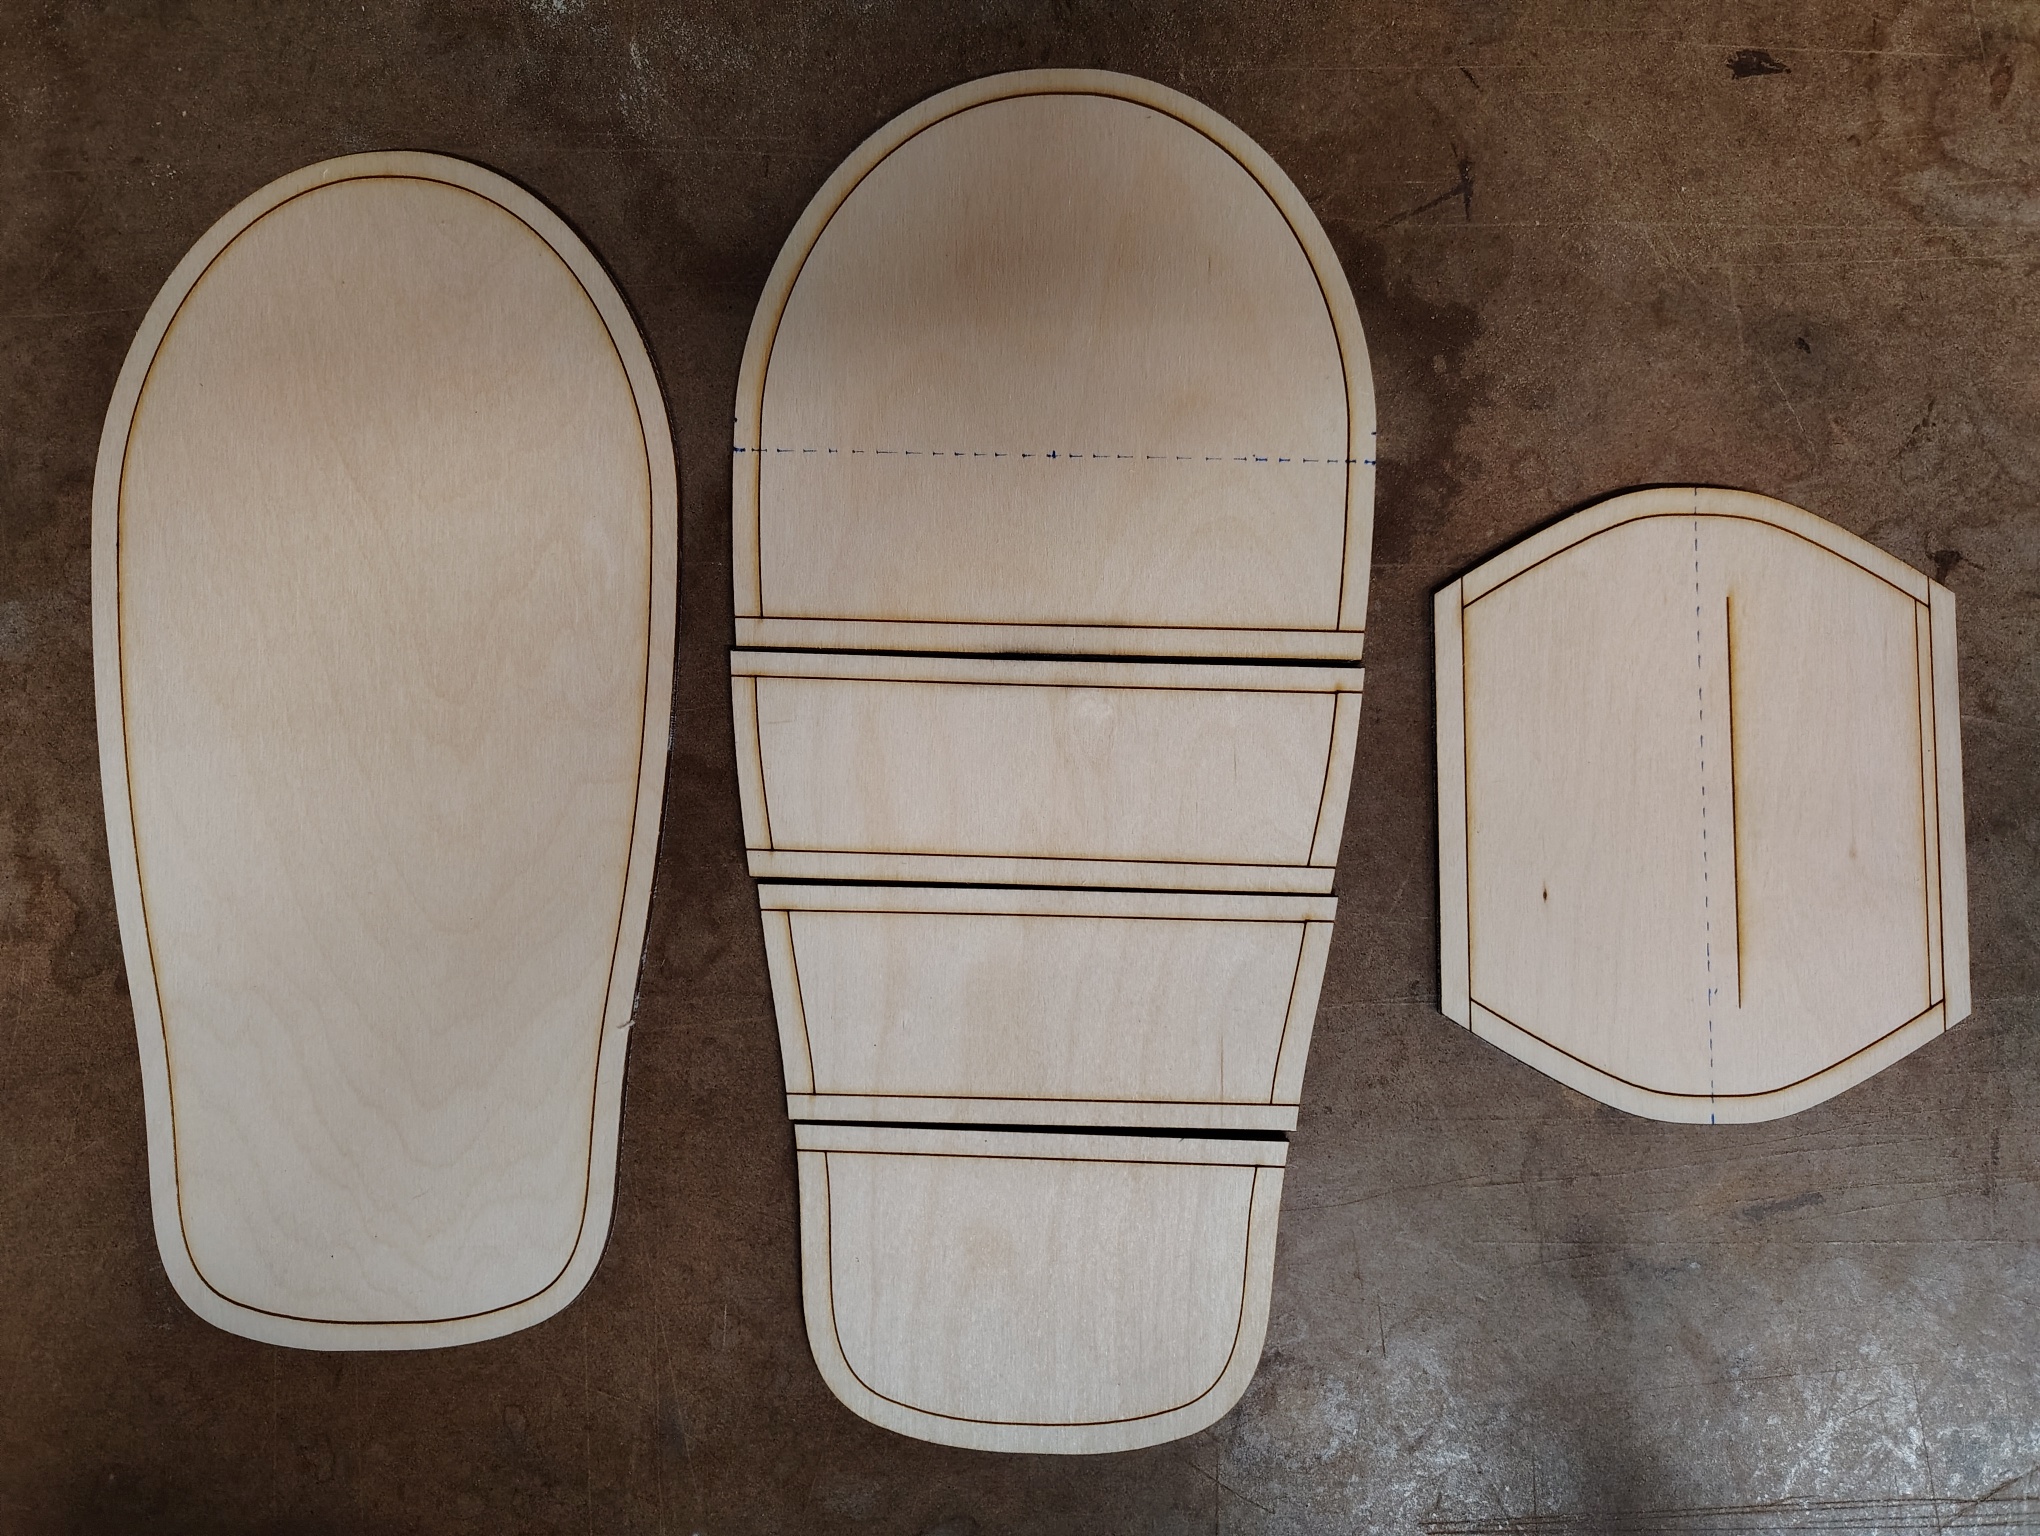
Download the SVG template here!
A few things to point out here. The bag is constructed using two halves sandwiched together, with the top half being slightly larger and divvied up for zippers to create a dome-like shape after the actual animal. There is also a belt loop shaped like an isopod tail, as well as a couple of darts near the “head” to further dome out the final shape. The red lines are where the laser cuts the wood, while the blue lines are where it gets scored to indicate seam allowance.
Materials
My name is canvas, yo. My husband is craft store zippers, yo. Uh-huh. I make up everything.
I went with the tried-and-true fabric of canvas to make the bags. It’s tough enough to hold shape but soft enough to be easily sewn, and it’s dirt cheap. I got the zippers out of an assorted bin at the craft store. The thread is a general-purpose spool I permanently borrowed from a friend. Sorry Anna. I’ll buy you another one.
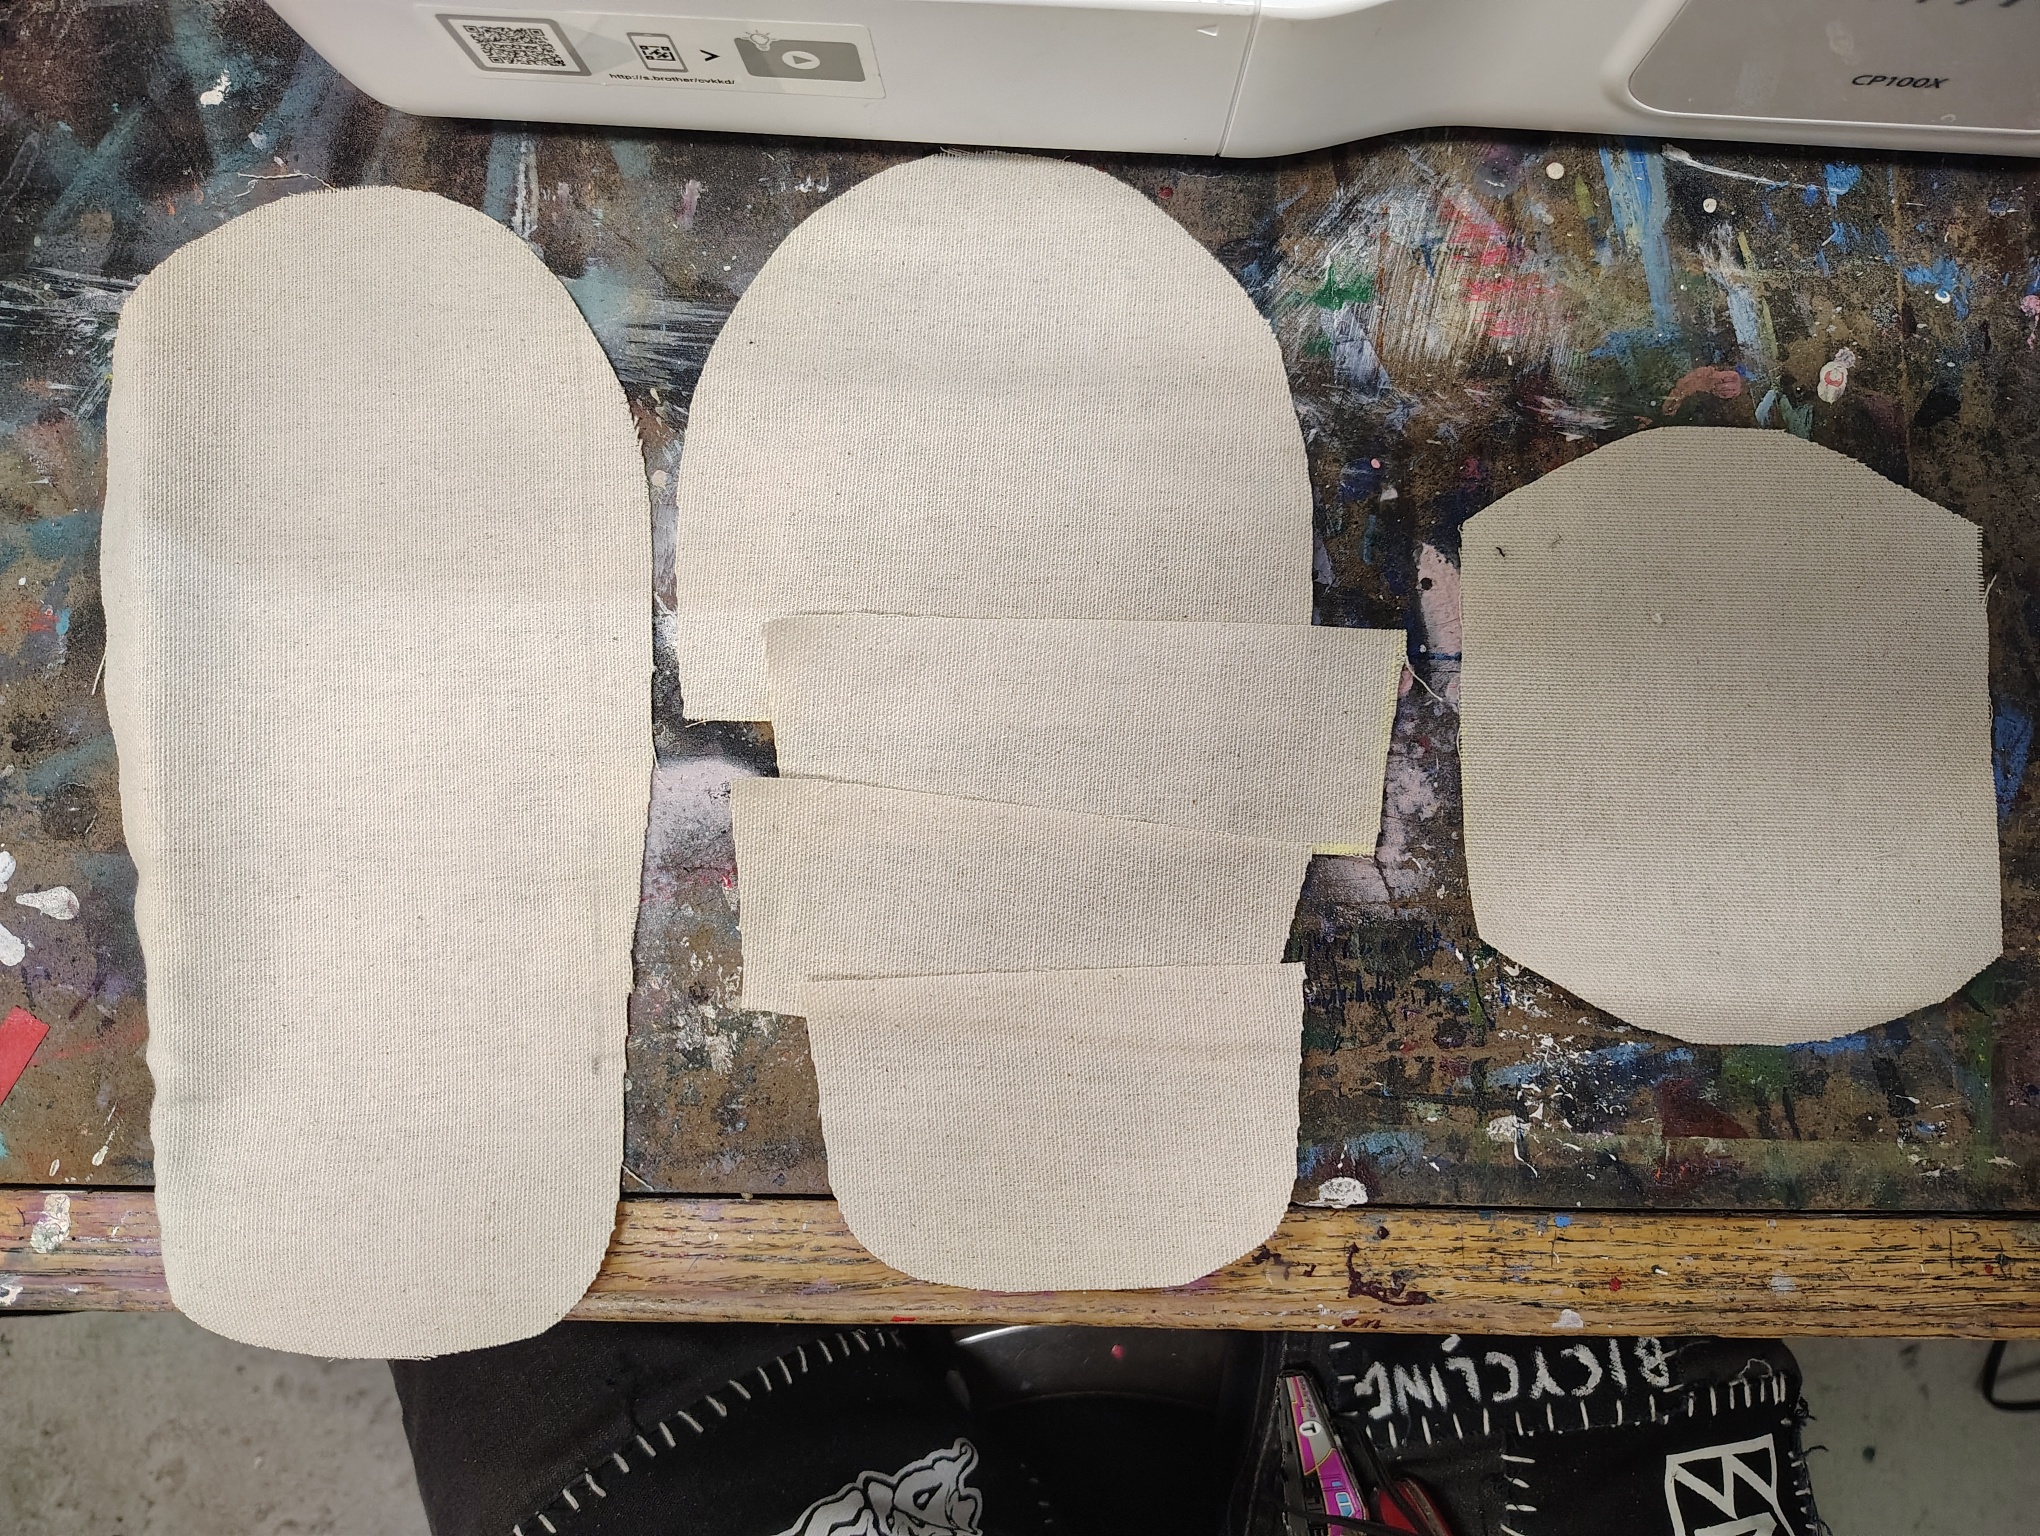
I traced the templates onto the canvas with chalk, keeping to grain as close as possible. The seam allowance lines turned out to be useless, but I did just fine eyeballing it.
Process
In da sewing studio, we all fam.
I iterated on the construction process over each model, but stuck to a similar process each time.
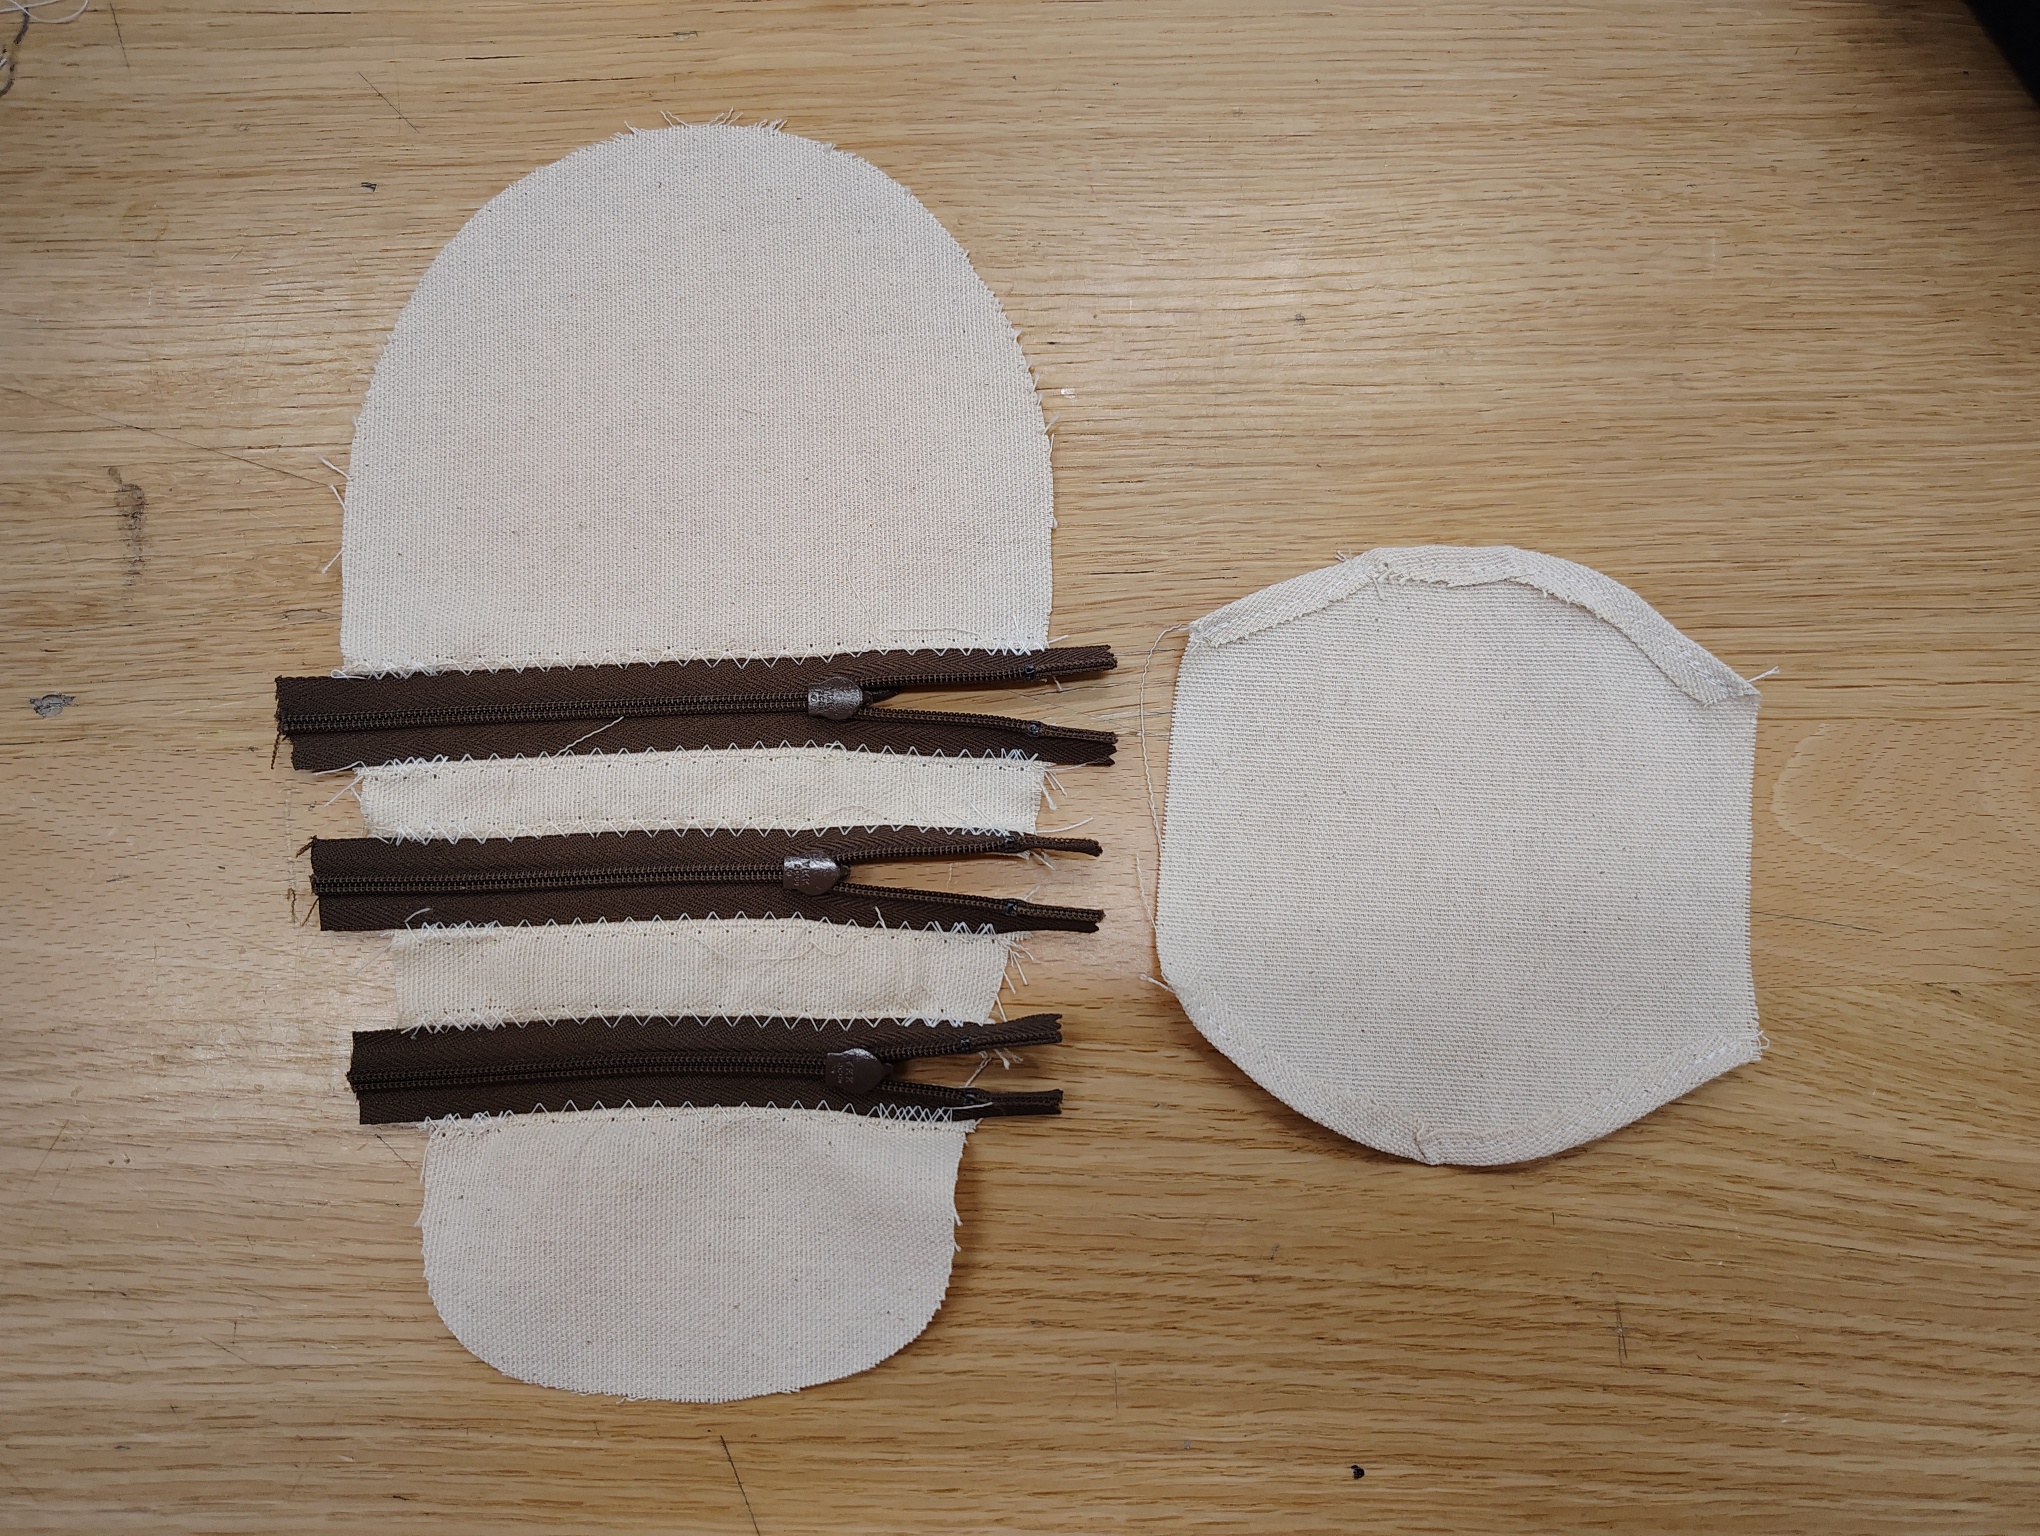
To boot, I sewed the half with the zippers together, attaching the zippers onto the back of folded seams with a zig-zag stitch to prevent fraying. I did this before cutting the zippers down so I could pull the handle to the side and prevent the needle from hitting it.
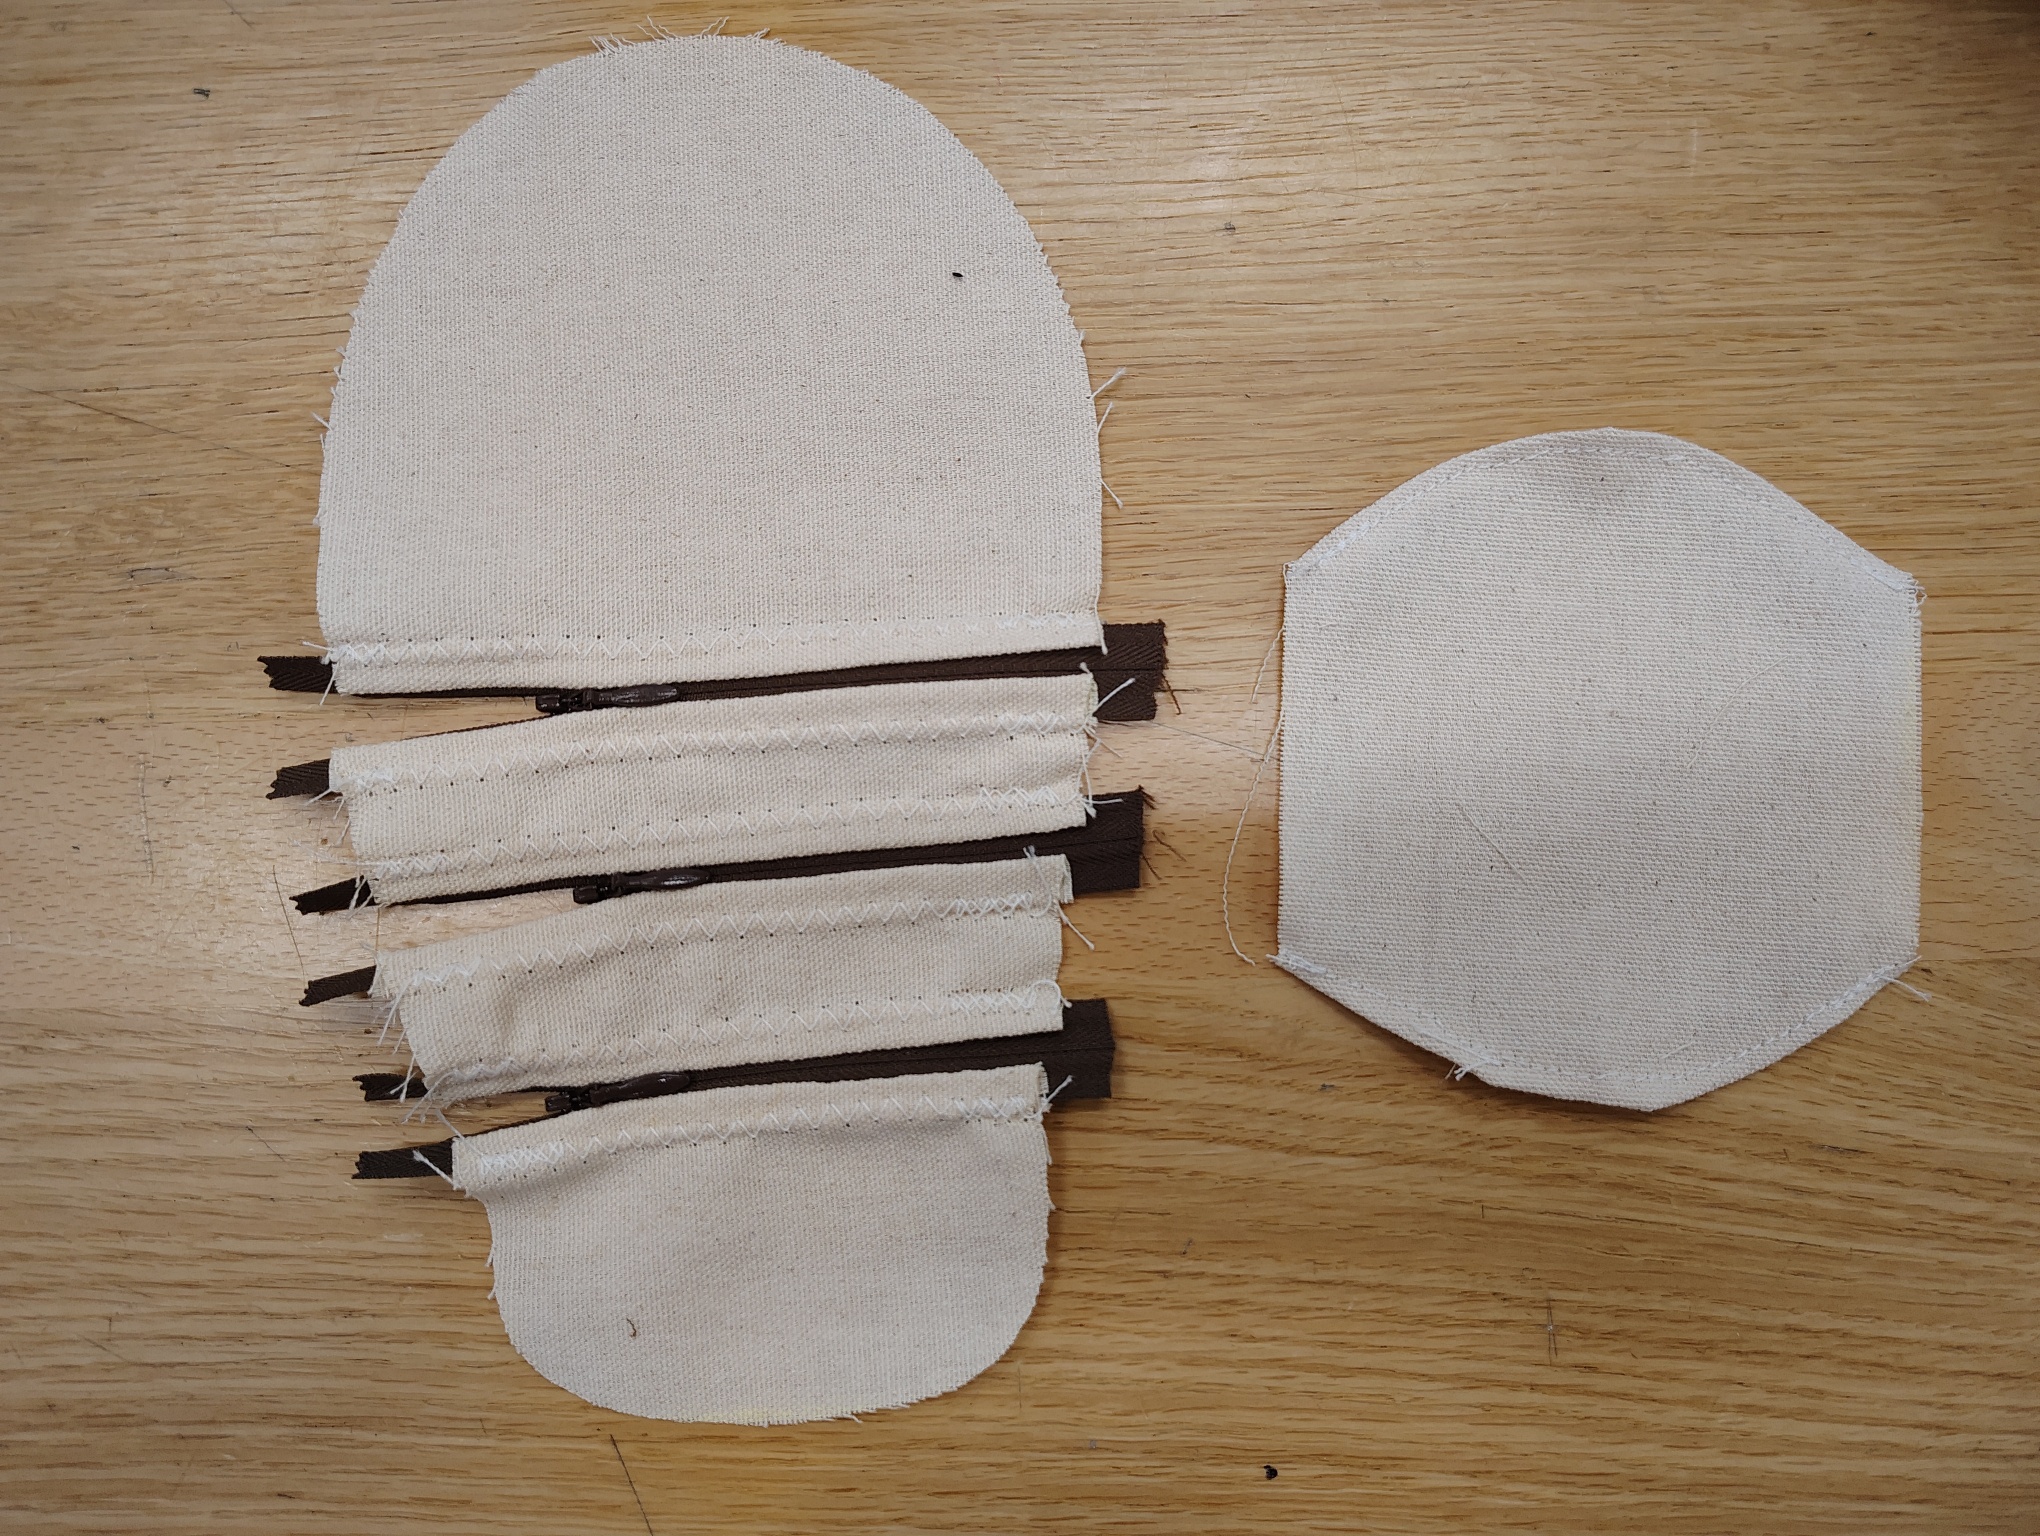
After that, I seamed the belt loop piece, folding the curved sides in with zig-zag stitches. It’s important to note that this kind of stitch isn’t the most structurally stable, but it does save a lot of time that would otherwise be spent doing more elaborate folding.
Yeah, a serging machine would have made this so much easier.
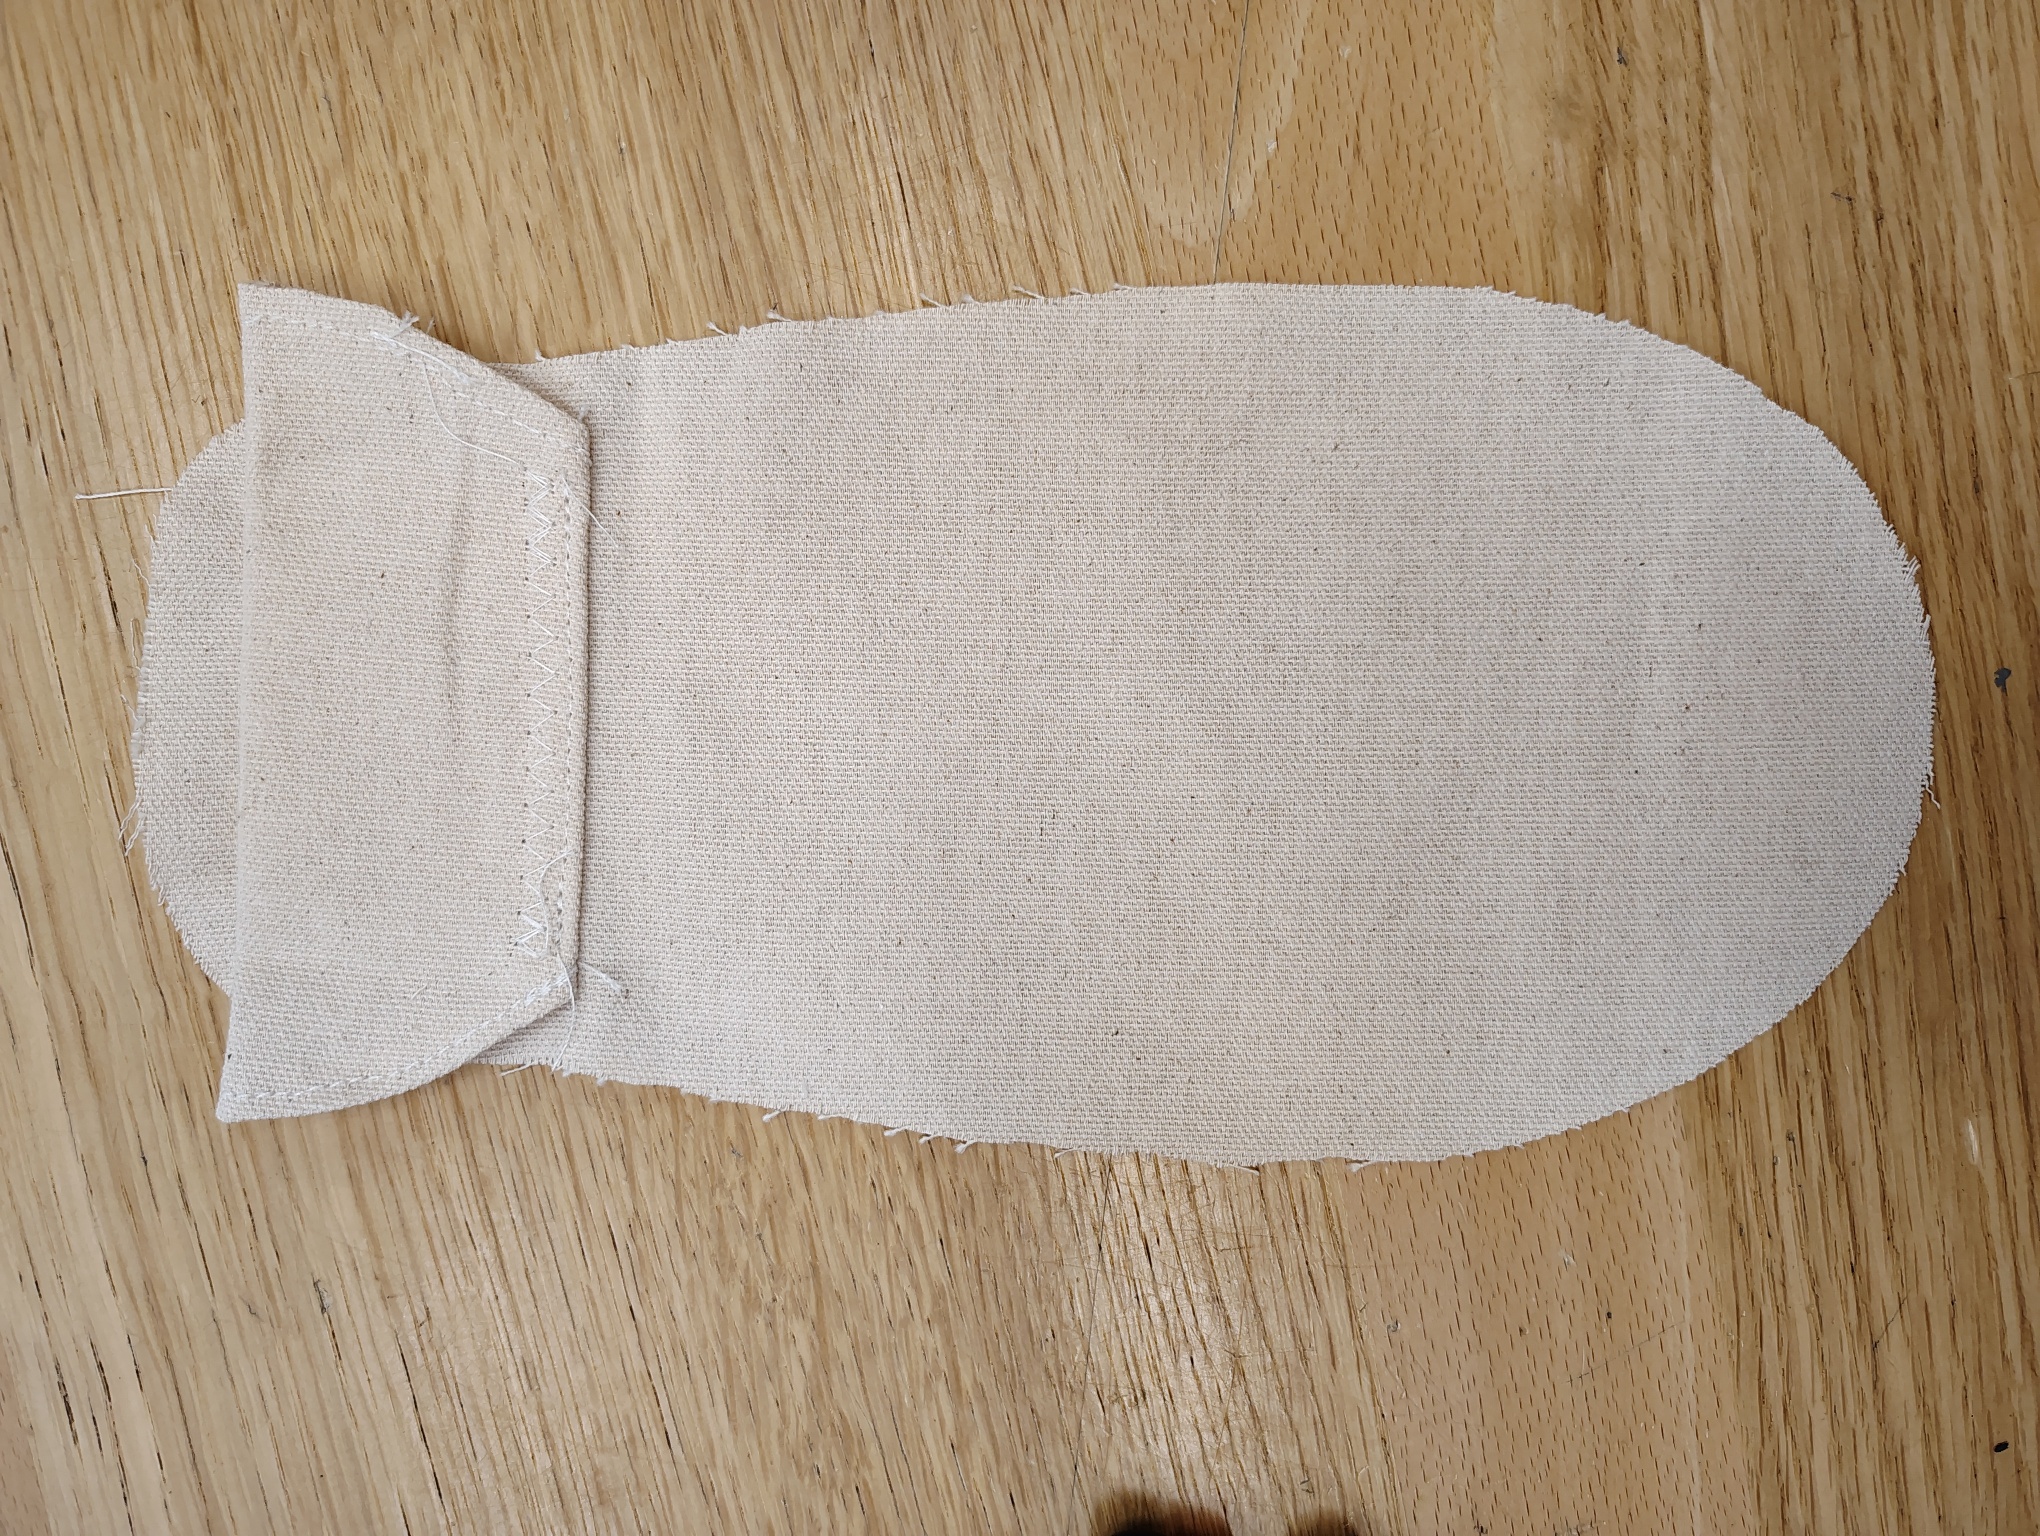
That done, I attached the belt loop onto the back piece, attaching it near the tail end by stitching just under the middle of the loop piece, before folding it in half, folding down a seam from the two flat ends meeting, and zig-zagging that down. This created two contact lines, giving the construction the shape and stability I desired.
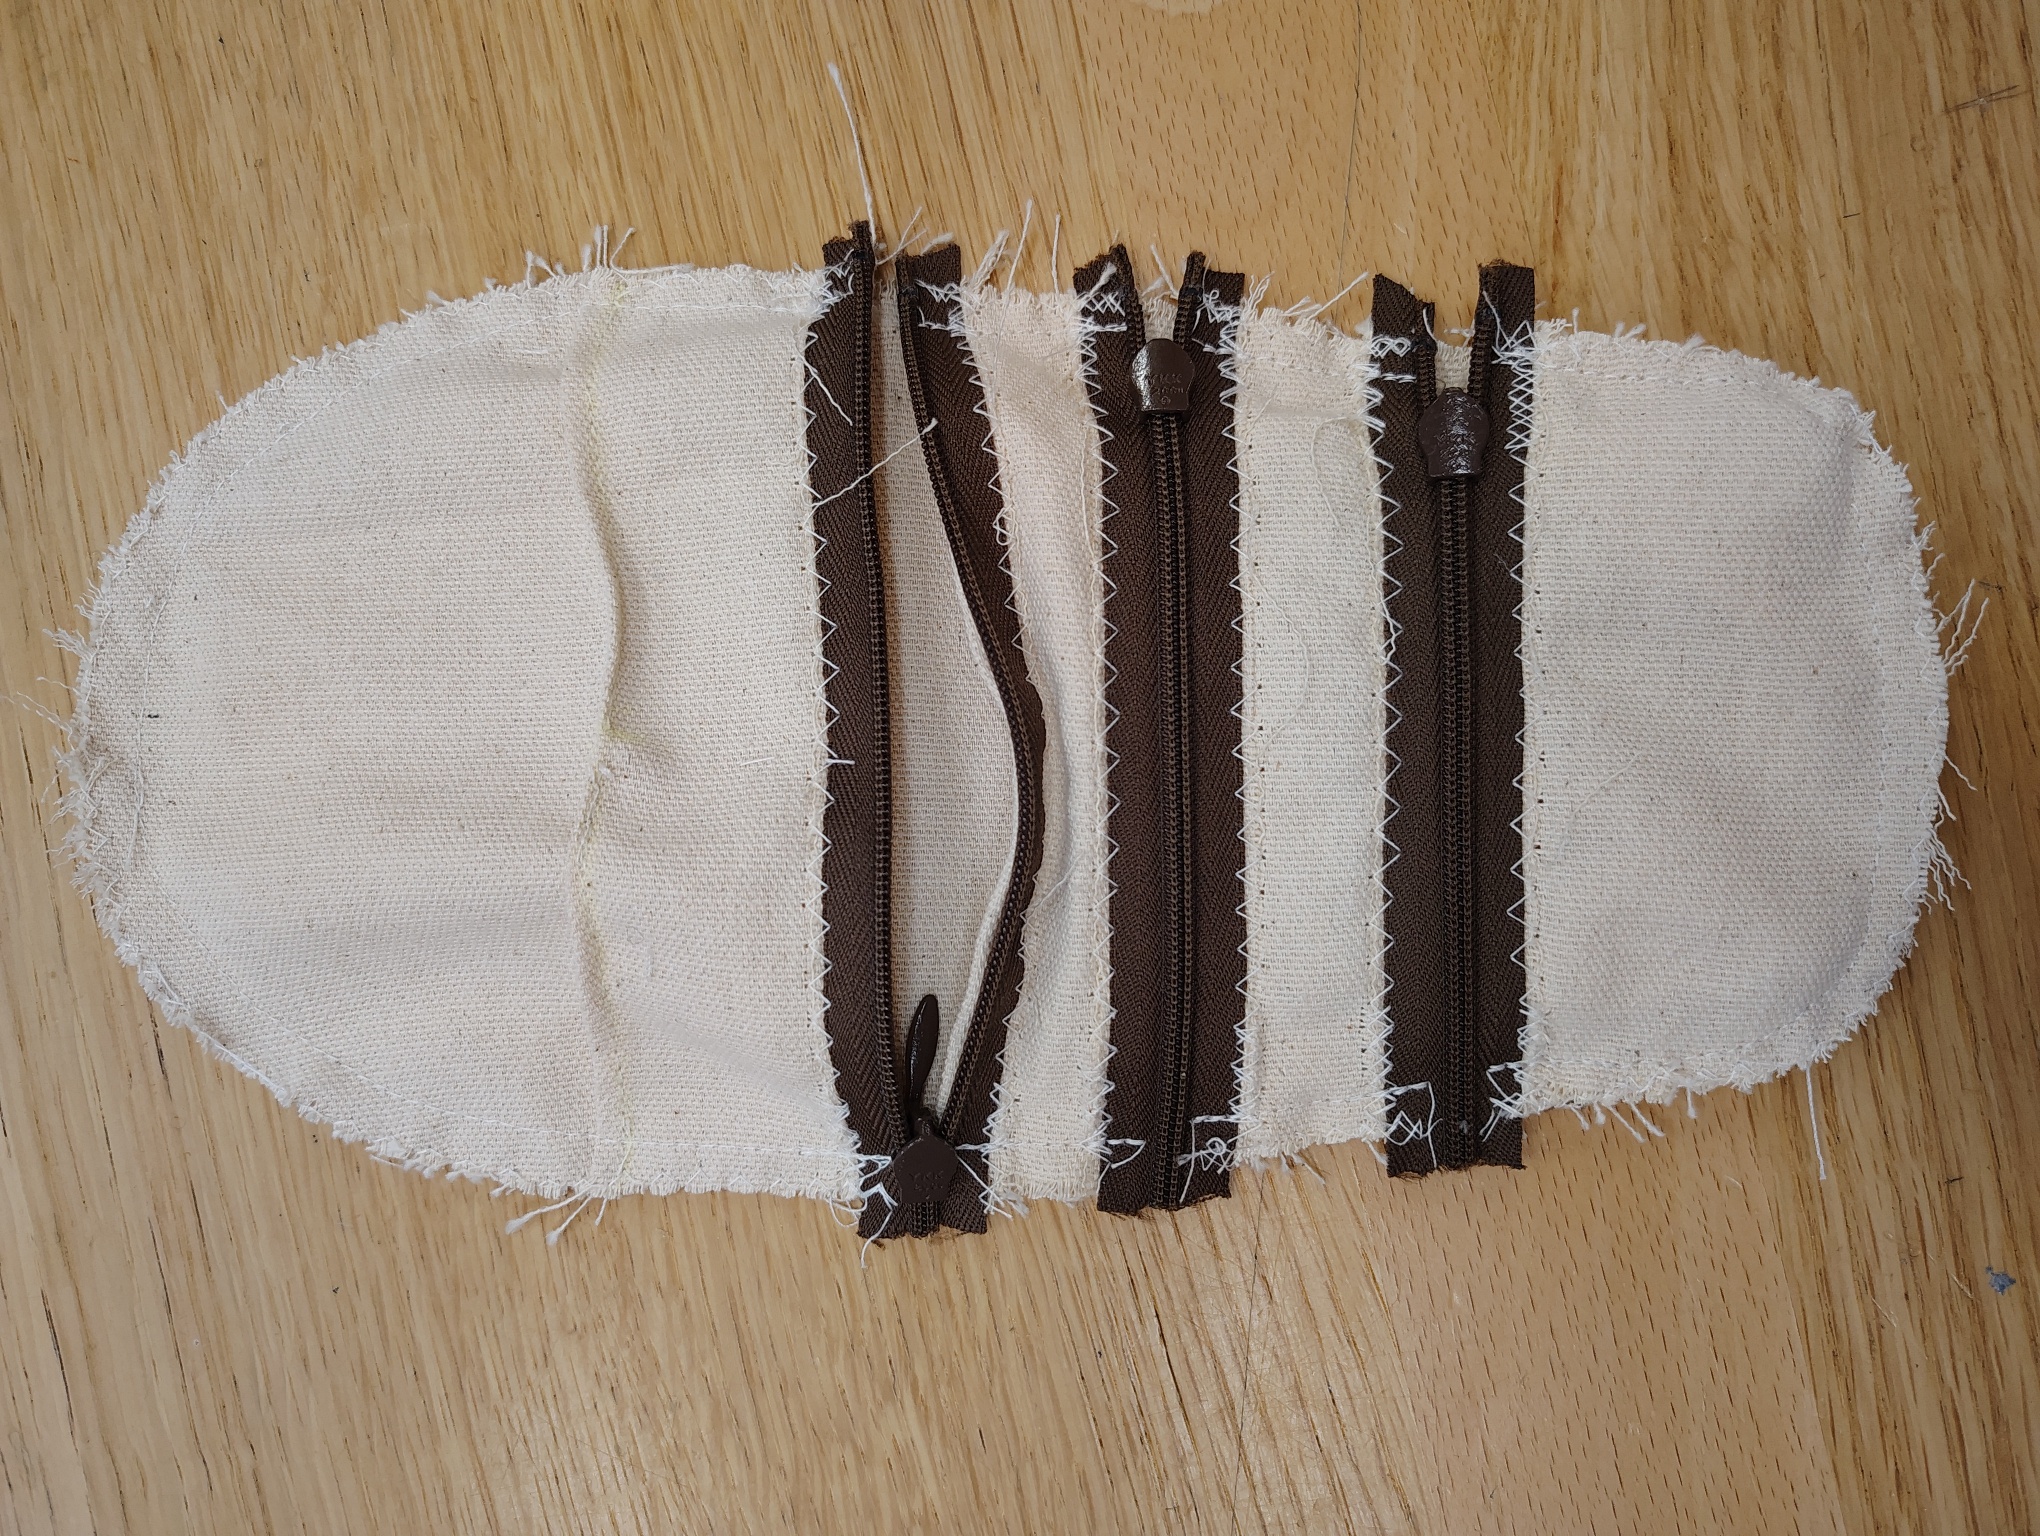
After that, I darted the top half’s head, straight stitched the two halves together inside out, making sure to bunch the belt loop in to prevent it being sewn through, and ran through the edges with a zig-zag stitch to prevent fraying.
Leaving the zippers open, I flipped the whole thing inside out, and lo and behold: an isopod belt pouch!
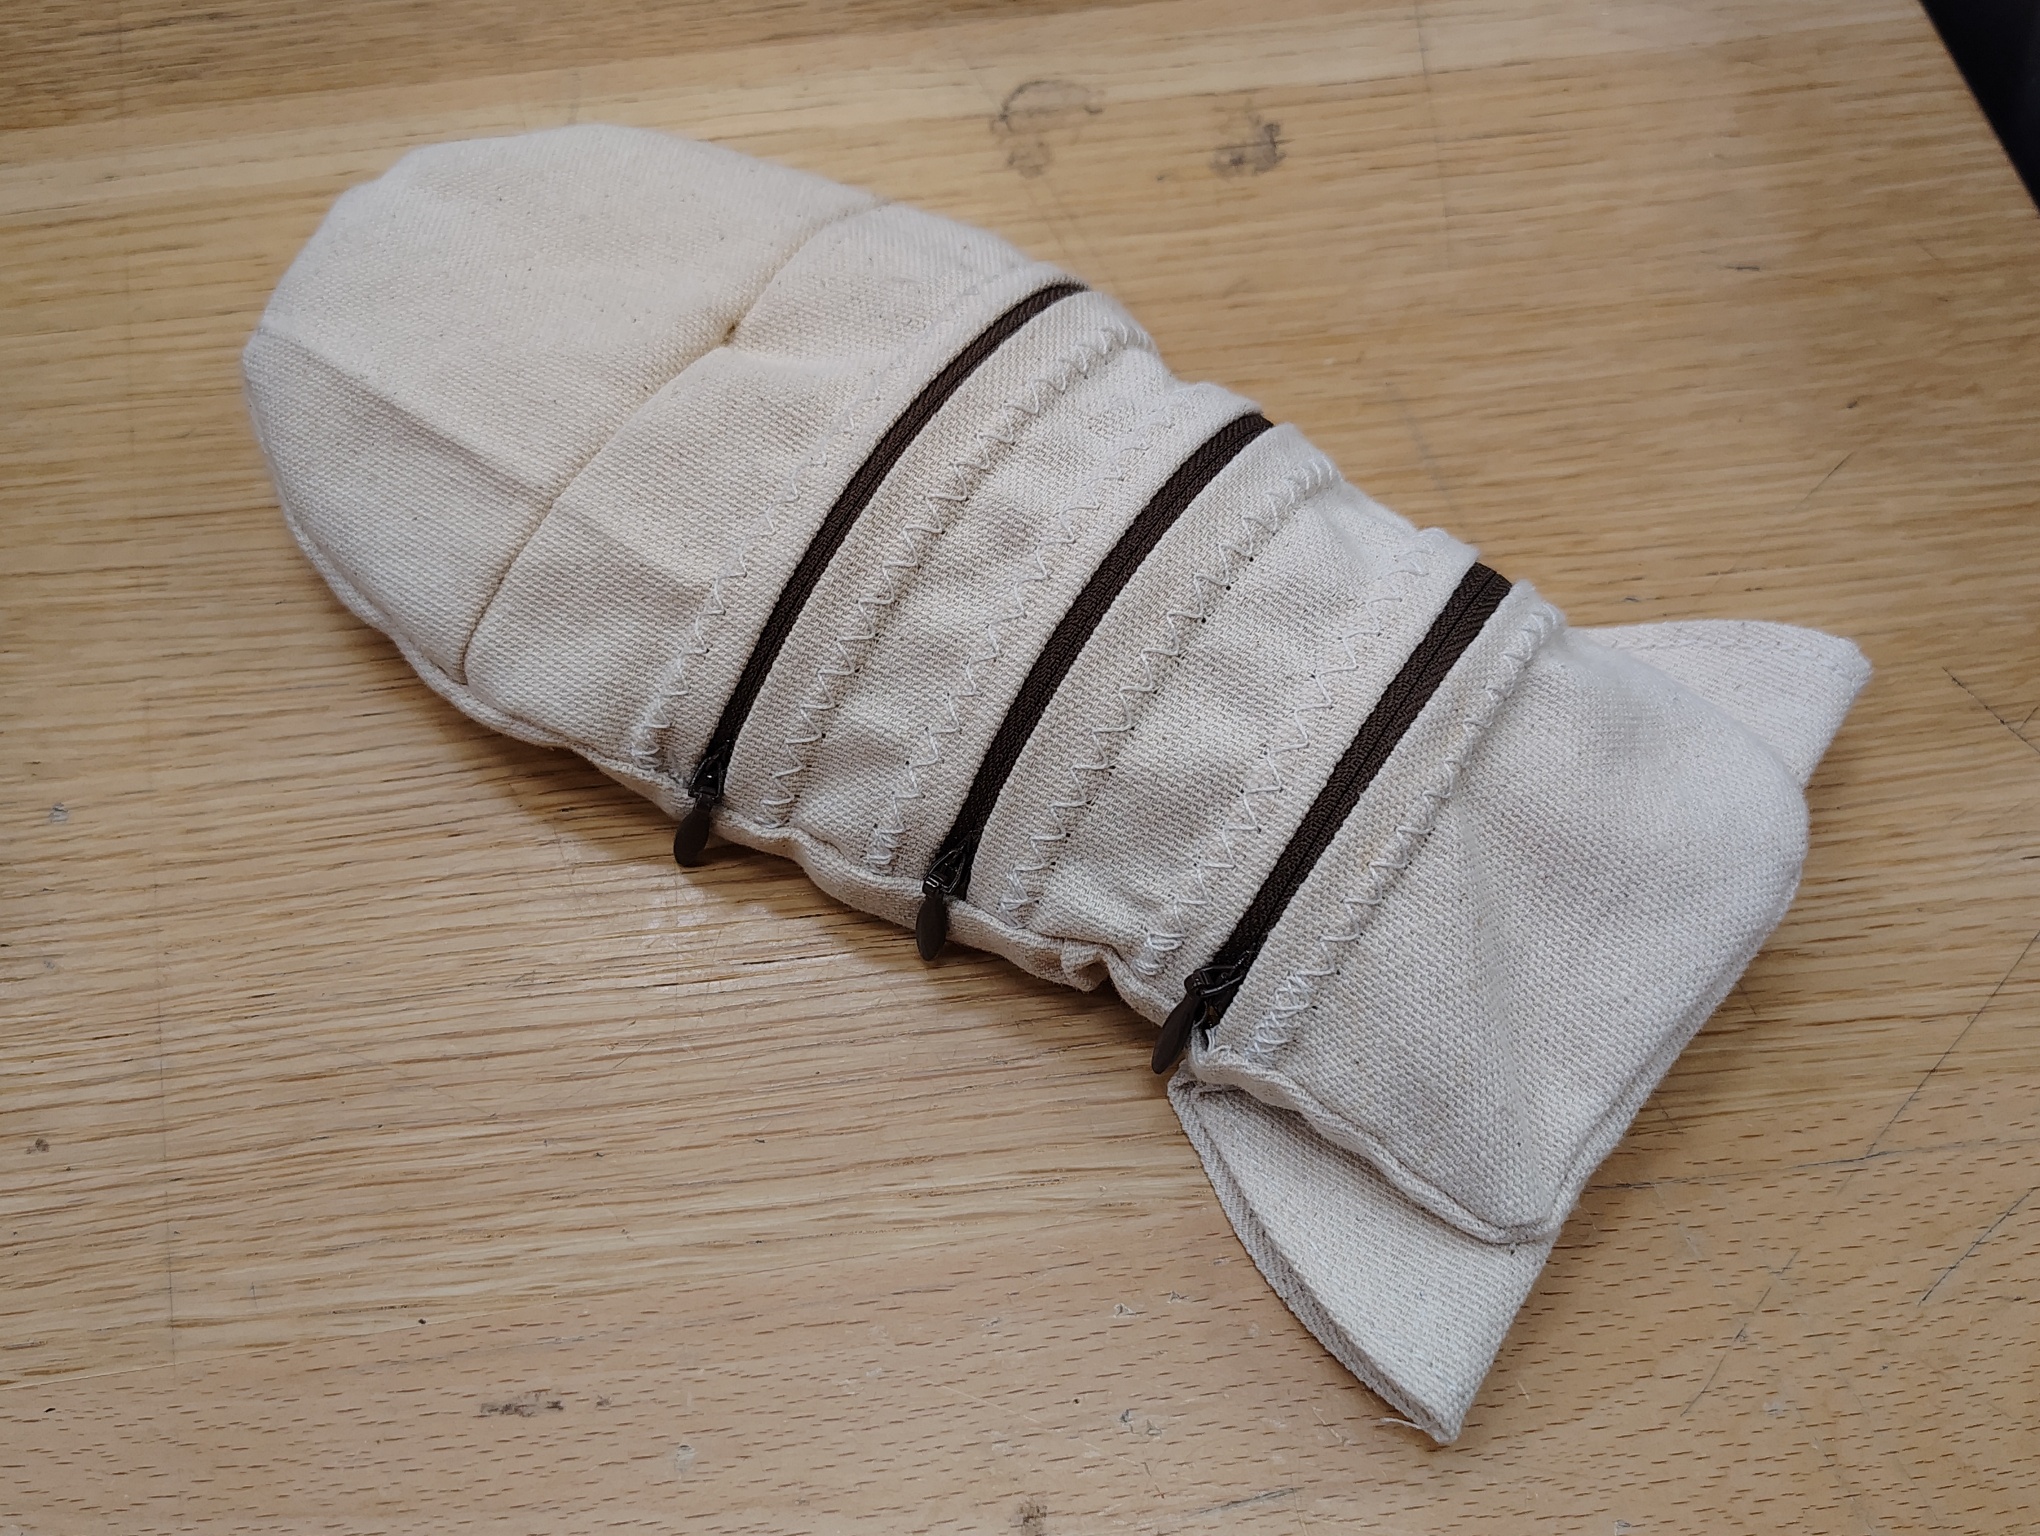
Results
Illegal u-turn glizzy before 9am is crazy work.
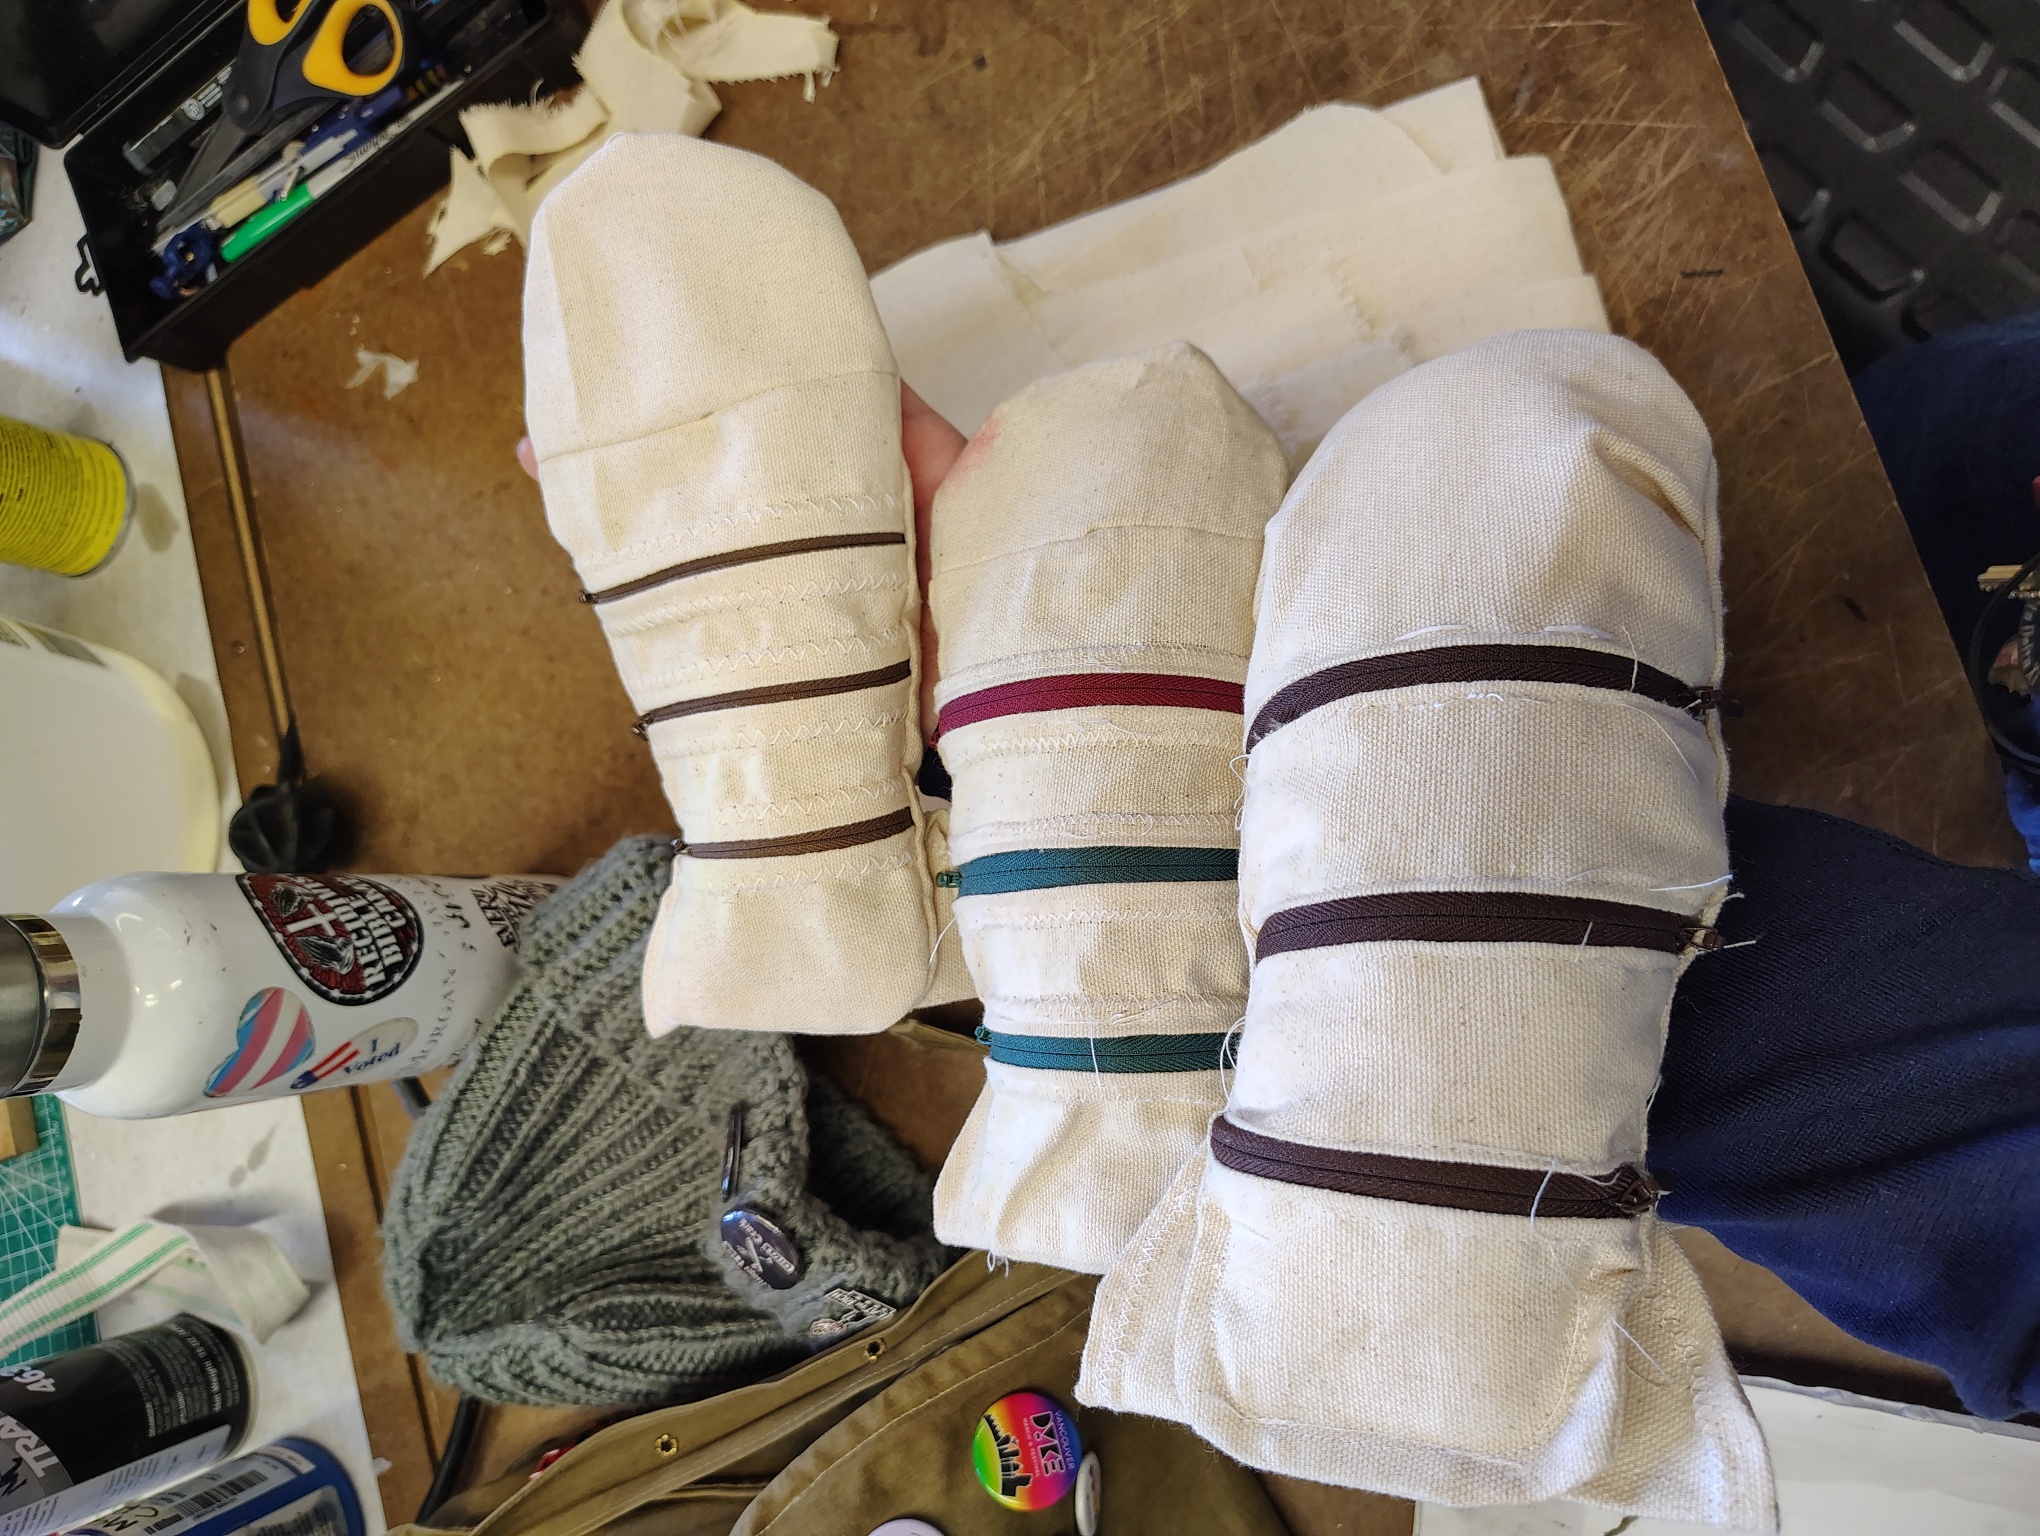
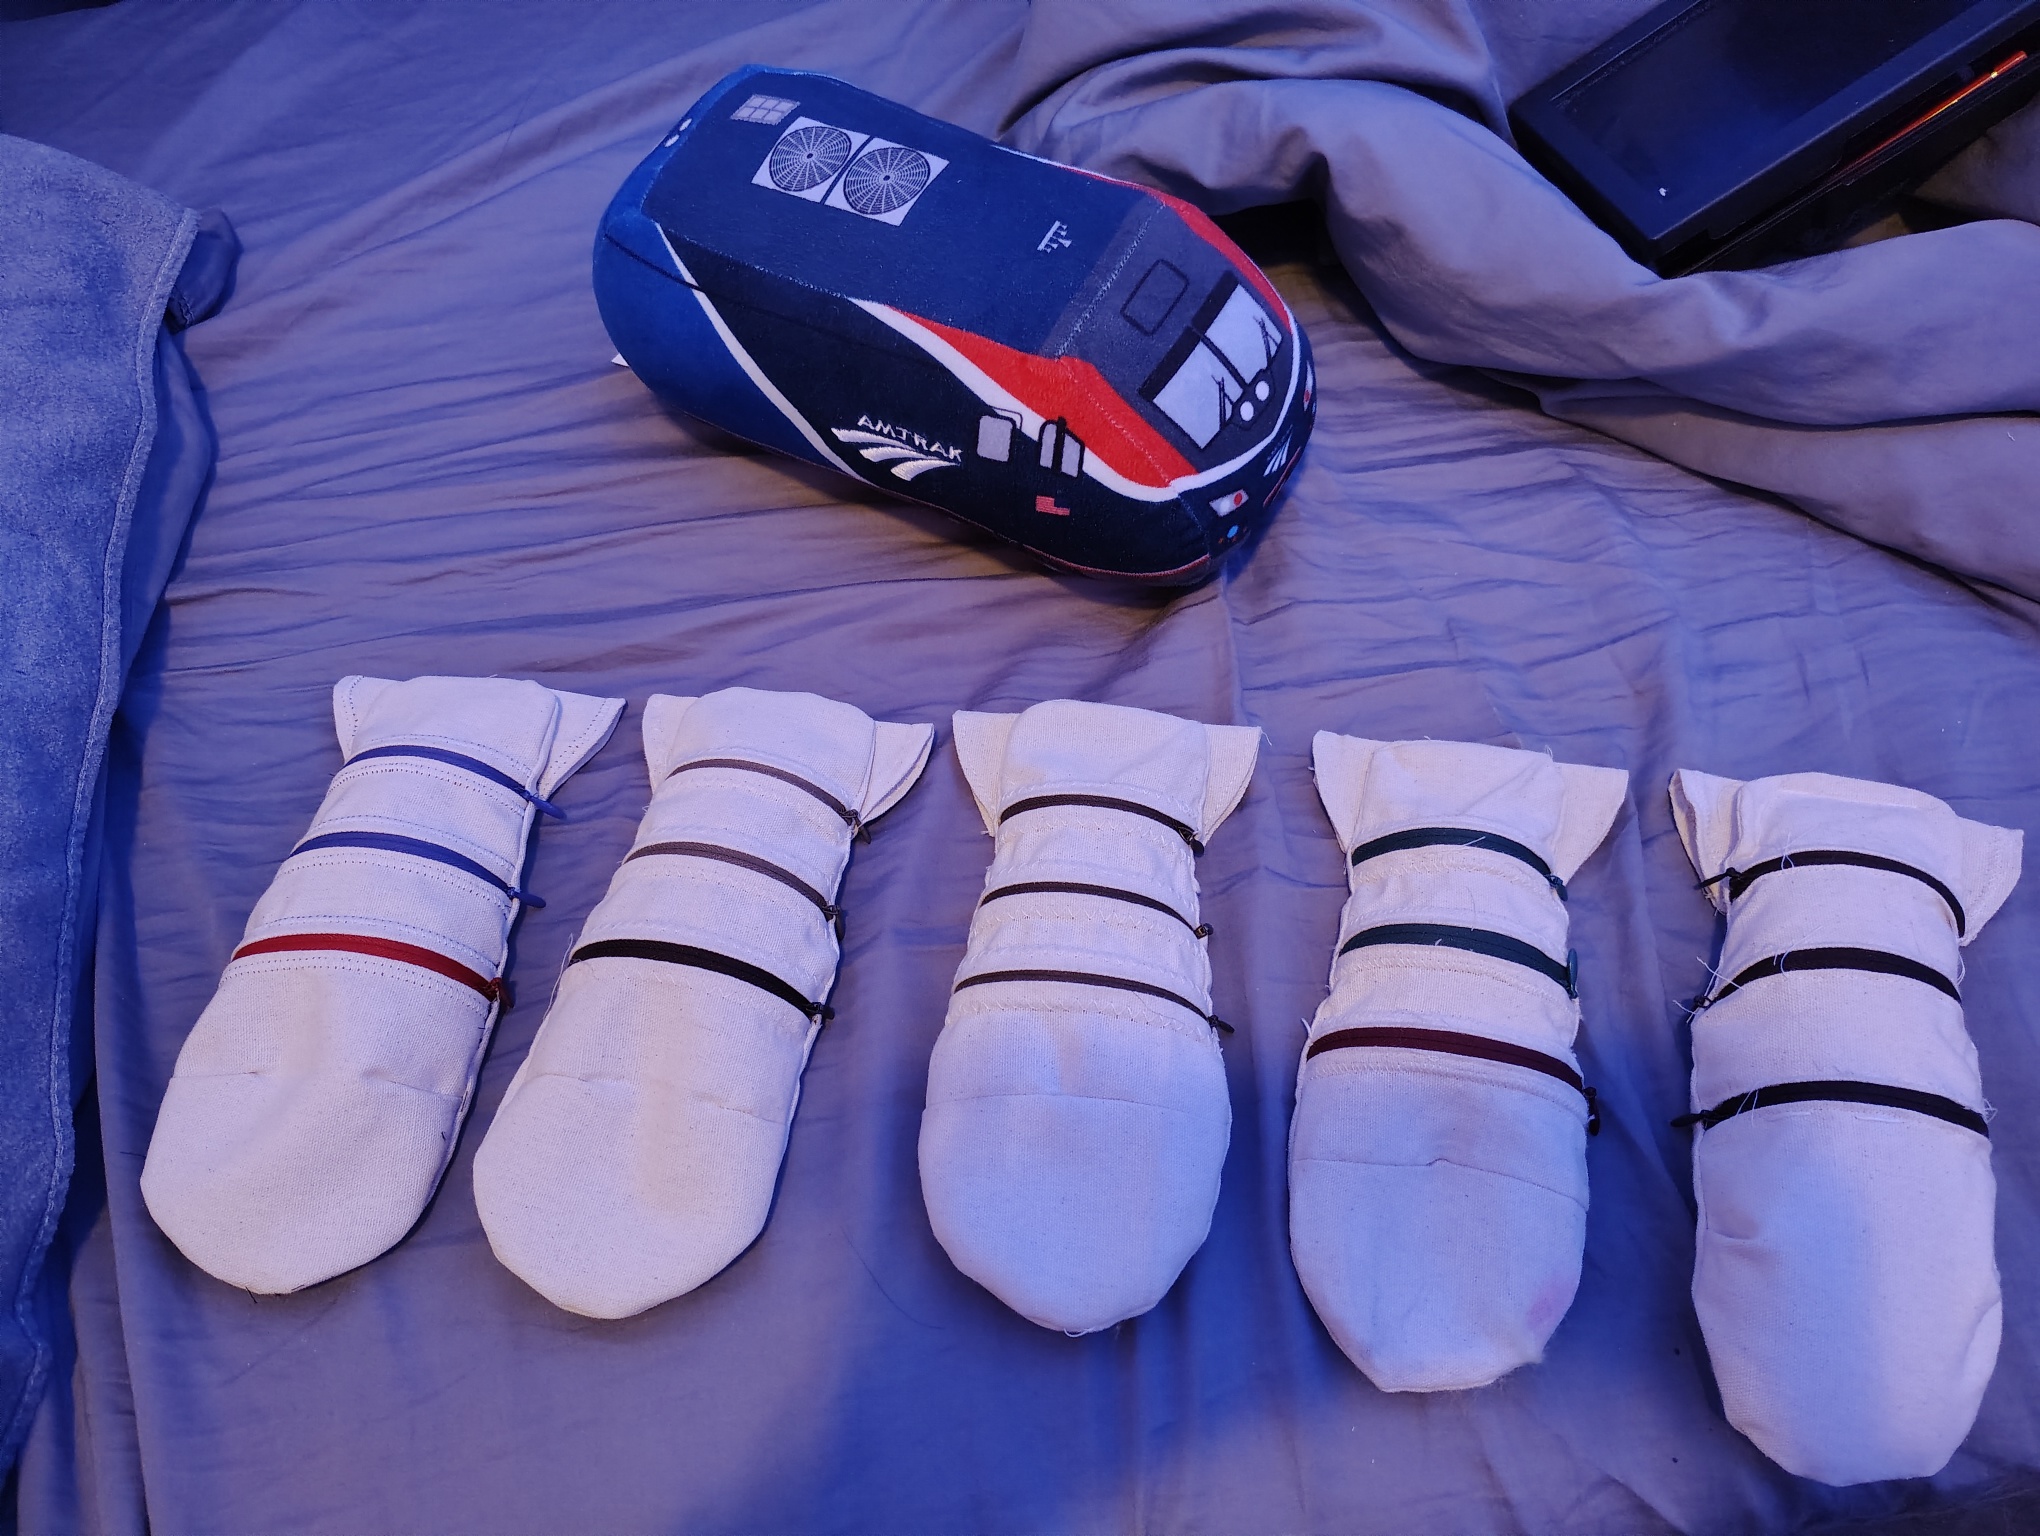
Money spread!! Money spread bitch!!
They turned out really nice. I actually test-ran the bags a few times: once to hold snacks while transporting by bicycle two large hammocks I bought off Facebook Marketplace from the next town over, and once to bring my Sony digicam into a furry rave and store a near-full pack of Newports I found on the dance floor at the same rave. I also wore one for everyday use for a couple of days, during which I filled it with reception desk candy and can tabs.
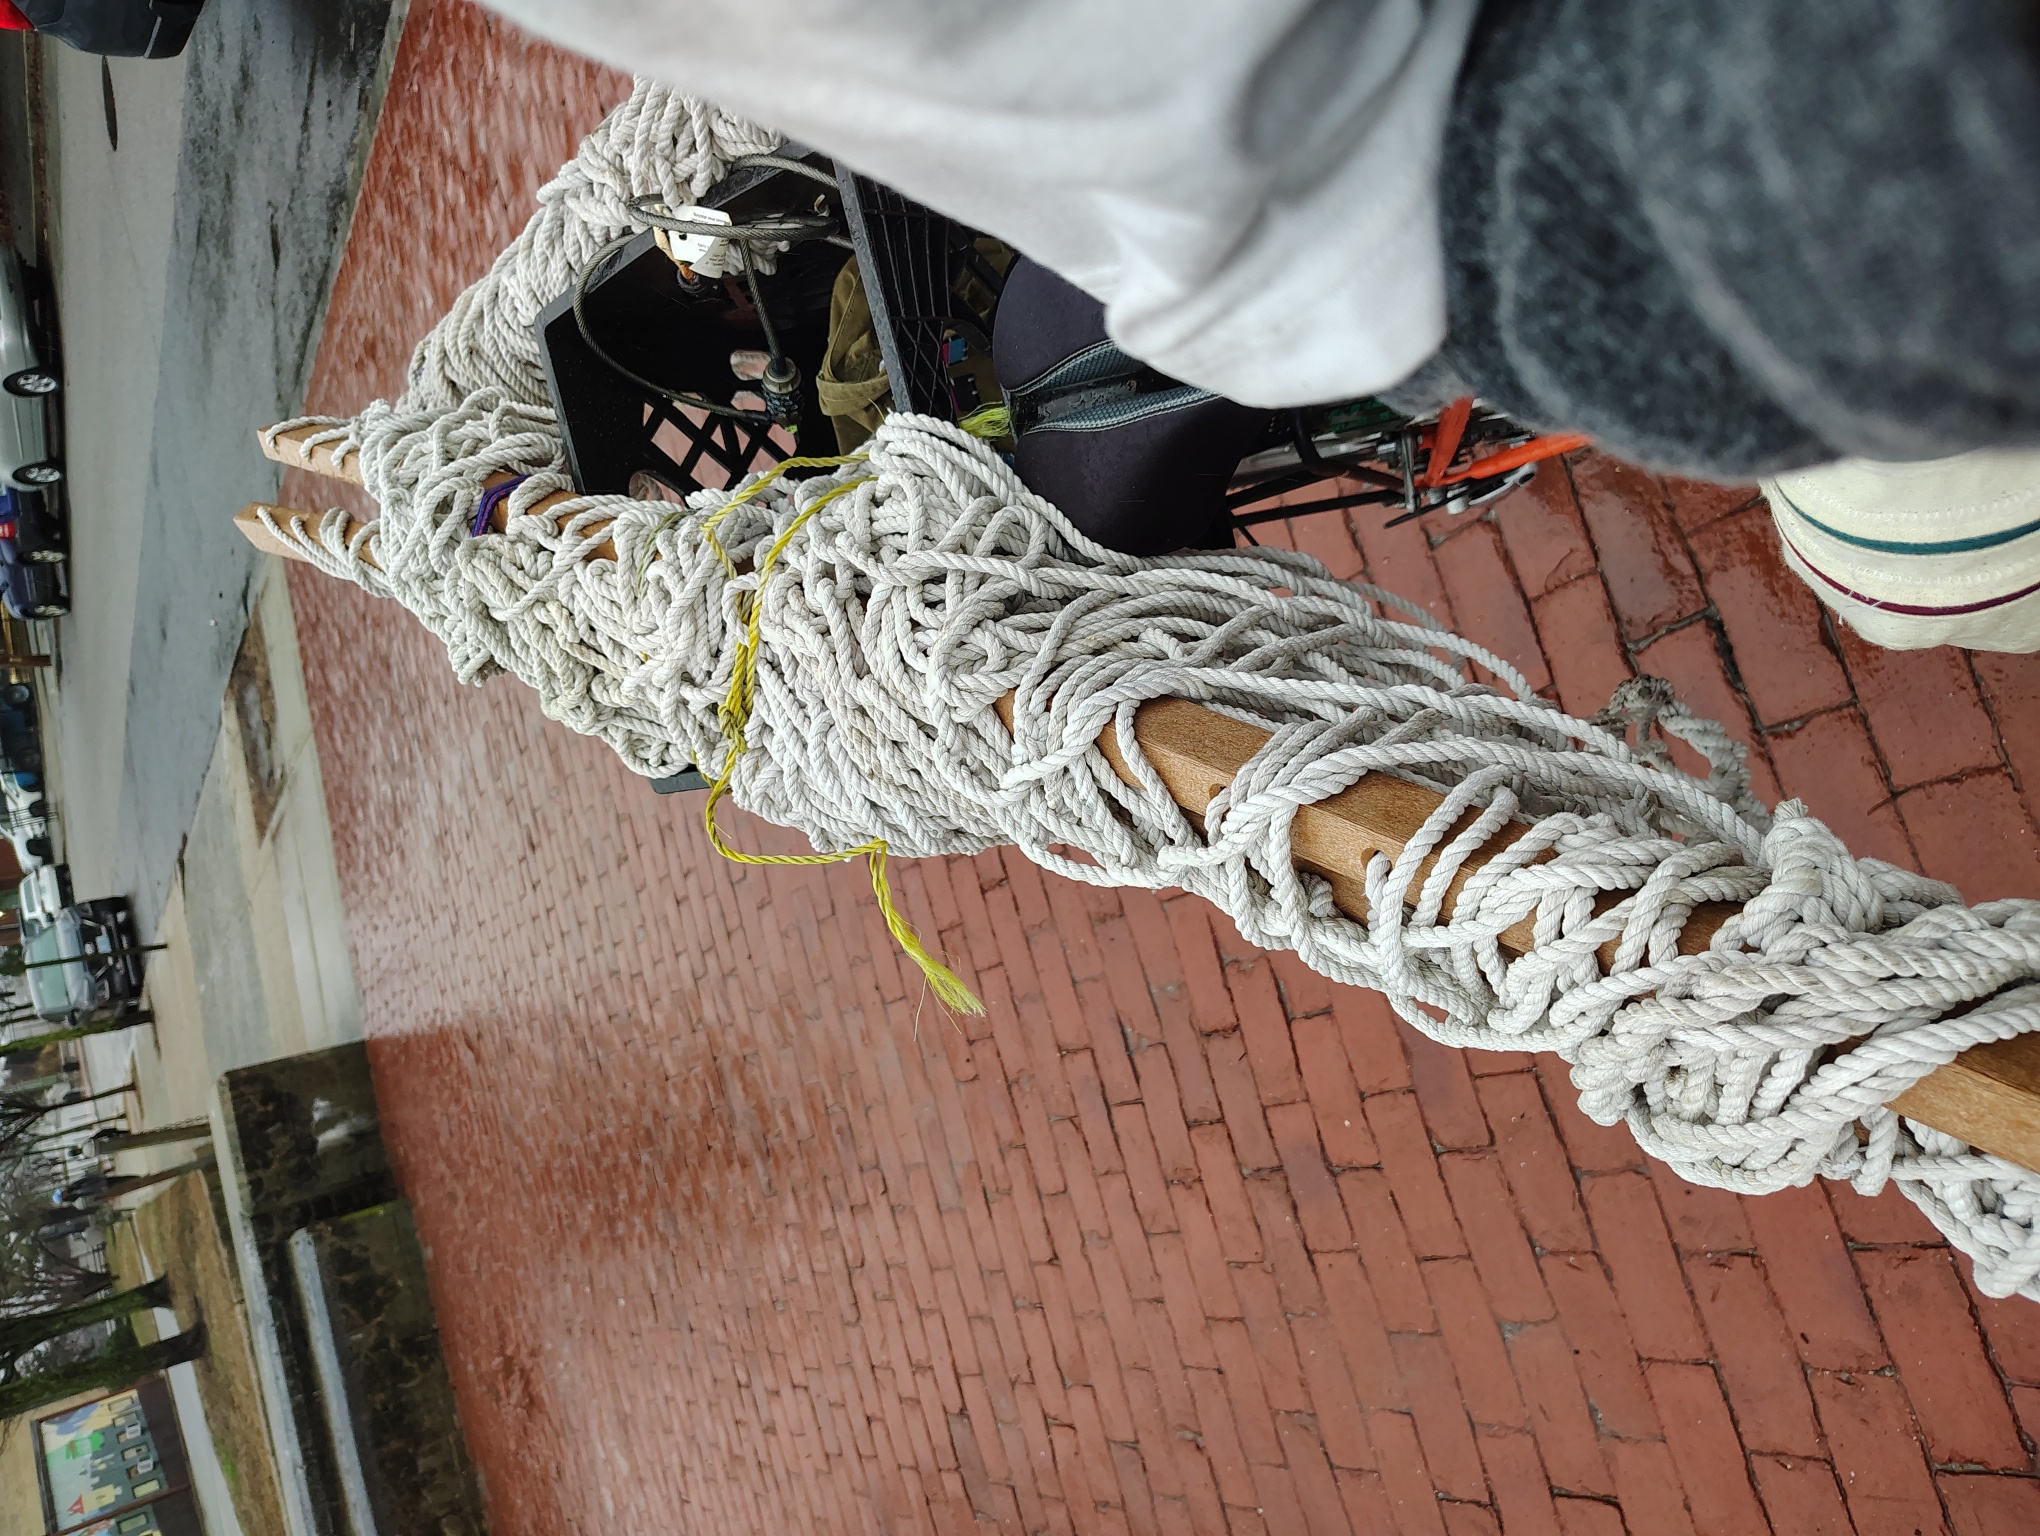
In every case they performed remarkably well. The multiple zippers, which might seem pointless at first, made it very easy to store items of differing sizes and retrieve them without disrupting each other. I’m gonna keep using them. Even for prototype models, they were a definite success.
Conclusion
Okay, I know I like to be silly and nonchalant about things, but I did get a lot out of this project. Sewing experience is definitely one of them: I have a much better grasp on soft goods modeling/prototyping than before. It’s also very empowering to design and build something from scratch to address a problem in your life. It’s, like, sticking it to the system. Fuck you, I’m not buying your shit, I’ve got my own two hands and caffeine-fueled determination.
See, the thing is, I feel like the design landscape nowadays is so utilitarian and lowest-common-denominator-generalist that it leaves no room for self-expression. I chose the design I did out of a love for the aesthetics and process. It looks like a deep-sea bug because I just wanted it to. Would it sell? I honestly don’t know. But I brought my passion into the world in the form of something beautiful and useful.
That’s it for now. I had fun. I completed an assignment. I’m doing a fresh start on my real and digital life. And I’m glad you’re following my journey! I’ll see you next time.